API Client Credentials
In order to integrate with Endor Labs, you’ll need the API Key and also be an admin user. Within Endor Labs, you can only set the expiration date to a maximum of 1 year when creating an API token through the UI. However, you can use the Endor Labs API to generate API keys with longer expiry. The following steps guide you through the credentials creation process.
To retrieve the Endor Labs token using the UI:
- Select “Access Control” from the sidebar on the left.
- Select the “API Keys” button.
- Then select “Generate API Key”.
- Enter a name to identify the API key such as Phoenix Security Integration
- Select the roles to apply to the API Key. We recommend you select Code Scanner. You can choose from the following options:
- Admin
- Read-only
- Code Scanner
- Policy Editor
- On-Prem Scheduler
- Select the expiry of the API key.You can set the value as 30, 60, 90 days, or one year.
- Once the API key has been created, it applies to the current namespace and all its child namespaces. If you want to prevent the policy from being applied to any child namespace, click “Advanced” and deselect “Propagate this policy to all child namespaces”.
You will now be given the API key and Secret, which is to be kept in a safe location.
Copy these credentials to a safe location since you will need them later to configure the integration in Phoenix Security. Please remember that this is the last time that you will have access to the Secret.
Create an Endor Labs Scanner Integration
- On the sidebar menu, navigate to the Scanners tab in the Integrations section.
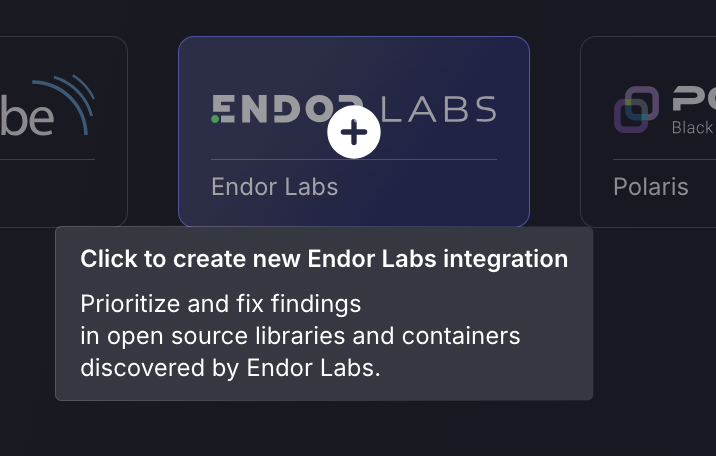
- Scroll down to SAST or SCA/FOSS scanners and hover your mouse over the Endor Labs scanner template. Then click on the template to add the scanner.
- On the next step of the process, enter the credentials created in the first part of this guide.
- Scanner Name: The name of the scanner to appear on Phoenix platform.
- Server URL: The API Root URL for your data centre. This will set to the default if not filled in
- Namespace: the parent Namespace used by the Endor Labs user who generated the API key
- API key: This should have been saved from earlier. If not, go back to Access control->API keys.
- API Secret: This should have been saved from earlier. If not, a new token will need to be generated.
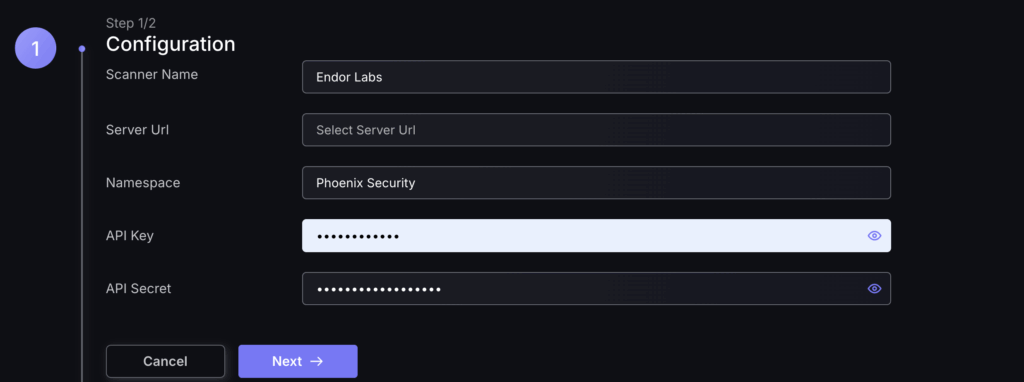
- Click on the ‘Next’ button
- Select whether to fetch vulnerabilities from all repositories accessible to the Access Token, or to choose which ones to include or exclude.
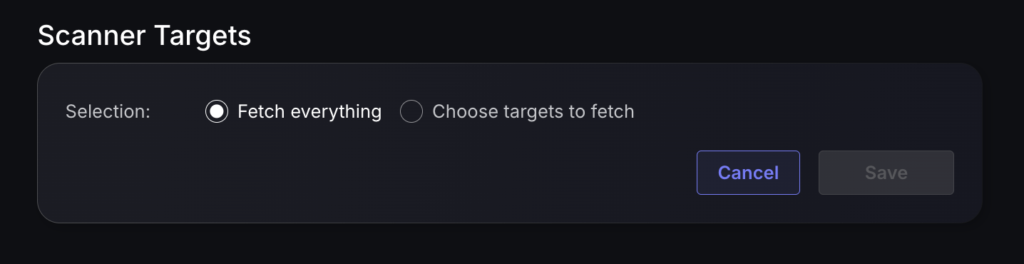
- Then click on “Save” to complete the process.
Unless there are issues with the credentials, the new scanner will appear in your list of integrations (under Integrations > Scanners) and the platform will start to collect asset and vulnerability details from the selected repositories (available through the choose targets to fetch section).
All the scanner’s assets and vulnerabilities will be automatically added to your account’s Default Application, and will be available to start assigning them to user-created Applications as required.