An Assessment defines the scope of a “vulnerability discovery” exercise (e.g. a scan). Different Assessments should target different sets of “resources”: websites, machines, containers, or any other resource being scanned/tested.
Based on the above definition, repeated scans or tests of the same scope should be imported under the same assessment. This will allow the platform to keep track of changes to assets and vulnerabilities over time.
If scan/test results from the same scope are imported under different assessments, Phoenix would be able to detect when the same asset is being imported. However, it will create a new set of findings, and potentially mark some as duplicates. Findings that are no longer present will not be removed from the previously imported assessments of the same scope.
Navigation
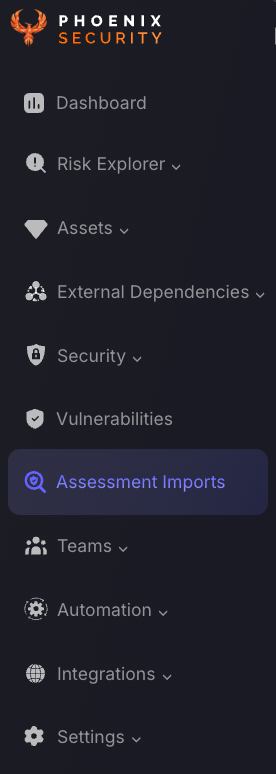
There is a dedicated section within the platform called “Assessment Imports”.
Importing Assessments
Assessments can be imported in two ways:
- Using a Phoenix CSV
- Using a Burpsuite XML
Based on your selection there are two different processes to follow, which are detailed below.
Phoenix CSV
The import process will check and validate the file and provide an opportunity for you to review and confirm the changes included in the file.
This process is designed to work with CSV files that include vulnerabilities present in a particular set of assets. It doesn’t provide a mechanism to indicate which vulnerabilities are new (from last import) and which ones should be removed. This delta is calculated automatically by the platform.
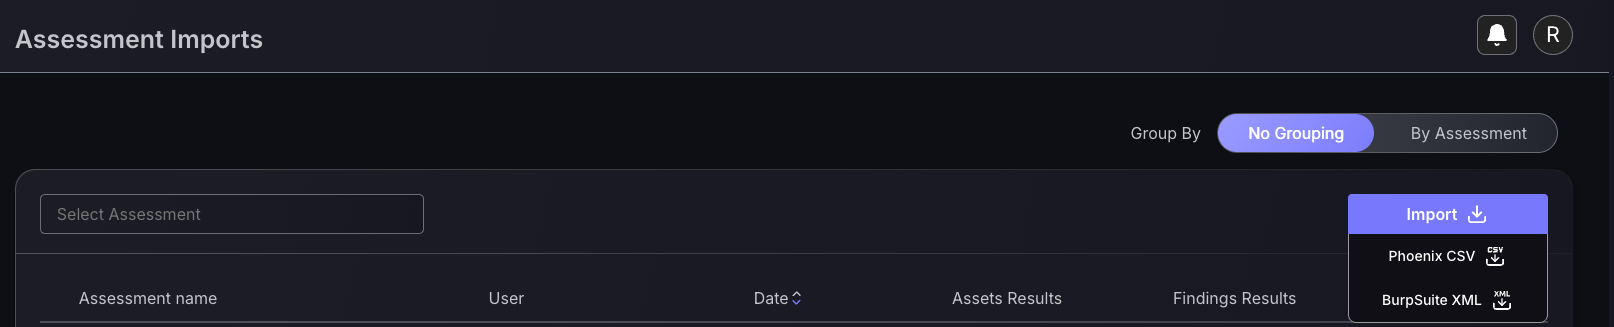
- Select the “Import” button, located on the top right hand side of the page. Then select “Phoenix CSV“.
- Here you can import assets and vulnerabilities using a CSV file. You just need to follow 4 simple steps:
- Select an Asset type from the drop down.
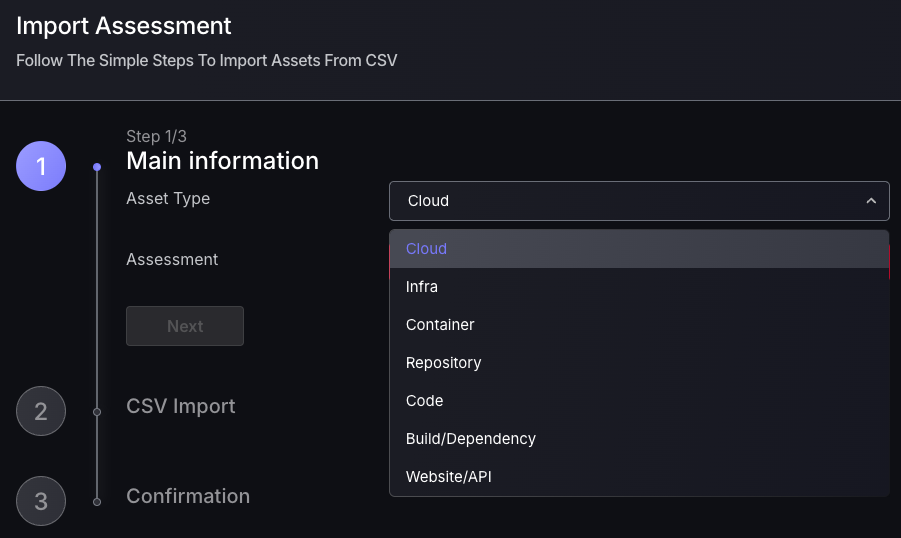
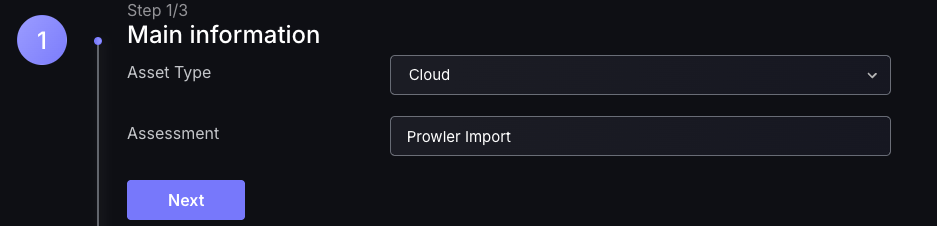
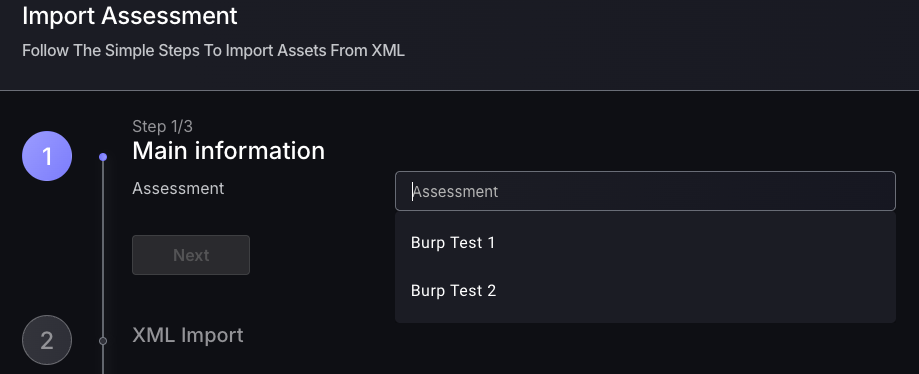
- Select an existing Assessment or create a new Assessment name for these assets and vulnerabilities. An assessment (or engagement) identifies a single or recurring exercise on a consistent set of assets. Examples of Assessment names would be “Red Team”, “Scanner XYZ”, etc. Press “Next” to continue.
- Download the CSV template – if you don’t have it already. Please keep in mind that each row needs to include asset and vulnerability information, even if the former repeats for multiple vulnerabilities.
- Prepare your CSV import file using the template and drop it into the upload area or click on the link to select it from your folders.
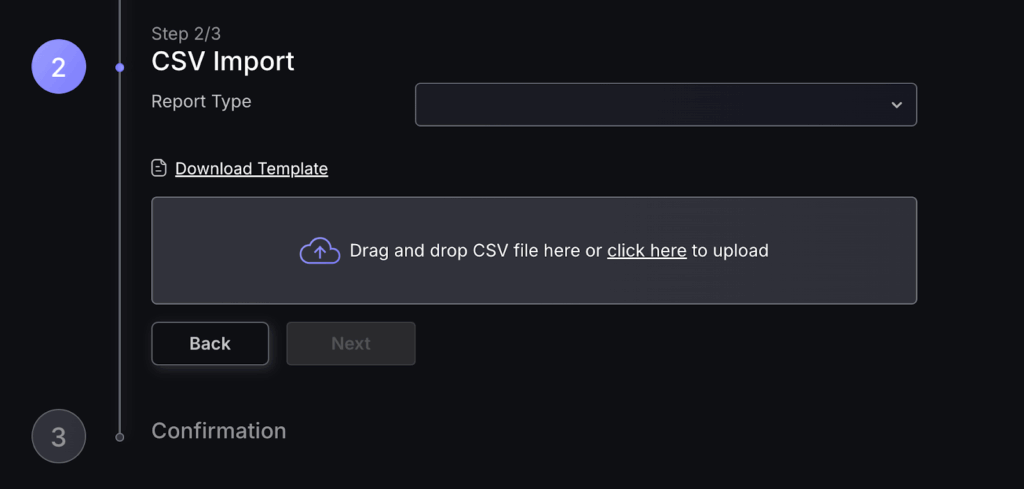
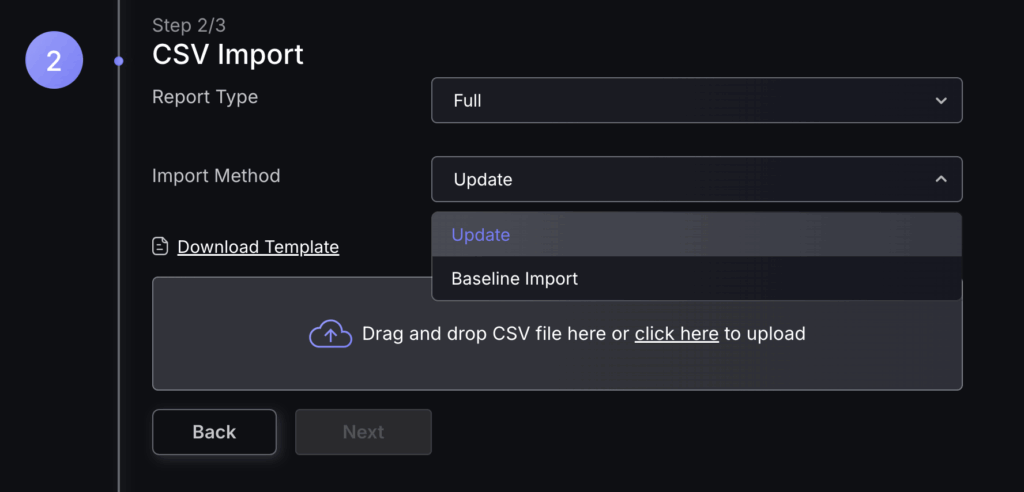
- The next steps are the same for both CSV and XML imports, which is to select the report type and import method. Please refer to the Report Types and Import Methods section of this document for further guidance.
BurpSuite XML
The import process will check and validate the file and provide an opportunity for you to review and confirm the changes included in the file.
This process is designed to work with XML files that include all vulnerabilities present in a particular component. It doesn’t provide a mechanism to indicate which vulnerabilities are new (from last import) and which ones should be removed.
- Select the “Import” button, located on the top right hand side of the page. Then select “BurpSuite XML“.
- Here you can import assets and vulnerabilities using an XML file. Follow these steps:
- Select an existing Assessment or create a new Assessment name for these assets and vulnerabilities. An assessment (or engagement) identifies a single or recurring exercise on a consistent set of assets. Examples of Assessment names would be “Red Team”, “Scanner XYZ”, etc. Press “Next” to continue.
- Prepare your XML import file and drop it into the upload area or click on the link to select it from your folders.
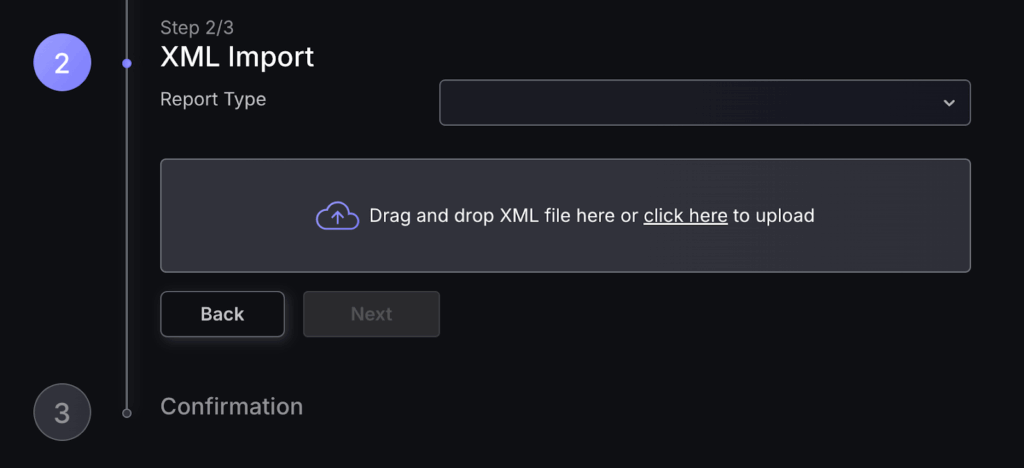
- The next steps are the same for both CSV and XML imports, which is to select the report type and import method. Please refer to the Report Types and Import Methods section of this document for further guidance.
Report types and import methods:
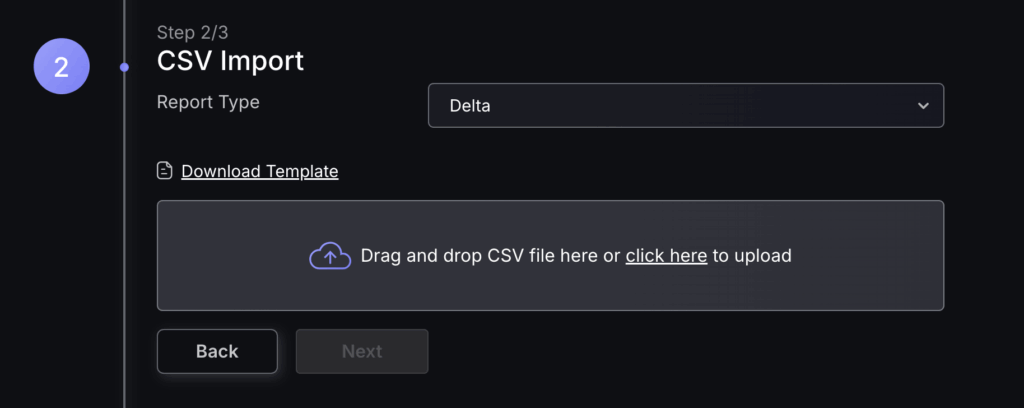
Once you have uploaded your CSV or XML file, you need to select which report type is needed. There are two options which we will cover, Delta or Full, both of which greatly impact how imported Assets and Findings are treated.
Delta report type
This is to be selected when you’re uploading a partial report containing information about vulnerabilities and assets that are present in the system at this moment. Meaning, it might not include all the vulnerabilities in each asset, and might not include all the assets in the scope of the assessment. The platform will add or update assets and vulnerabilities, but will not remove or alter any assets or vulnerabilities not present in the report.
Full report type
The report includes all the vulnerabilities currently present in all the assets in the scope of the assessment. If an asset or vulnerability (that was present in a previous report for this assessment) is not present in the new report the platform assumes that those vulnerabilities have been addressed, and will close them. Assets and vulnerabilities present in the new report will be created or updated as required.
(IMPORTANT: Uploading a Delta report as a Full report will close vulnerabilities that might not have been intended to be closed by the user.)
You will also need to select the import method for a Full assessment, either an:
- Update – This method assumes that the file contains an updated version of previous imports for this Assessment (i.e. it’s not a delta). It will leave unchanged those vulnerabilities in the file that were already imported, add any new ones present in the file, and delete any previously imported vulnerabilities that are not part of the new import. (This option is only available for imports into an existing Assessment.)
- Baseline Import – This methods removes any vulnerabilities previously imported for this Assessment before uploading the new file. Only use this method if you wish to discard all vulnerabilities in this Assessment or if it is the first upload under this Assessment.
- Once you have made your selection on report type and import method, click “Next“, you will then be given a breakdown of how many Assets and Findings will be created.
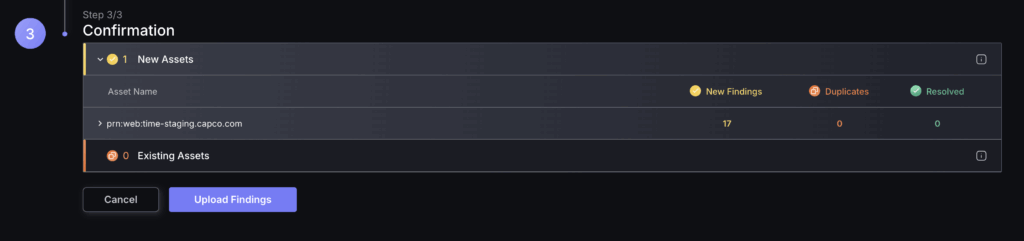
- Select “Upload Findings“, if the upload was successful you should see a similar screen to the one below.
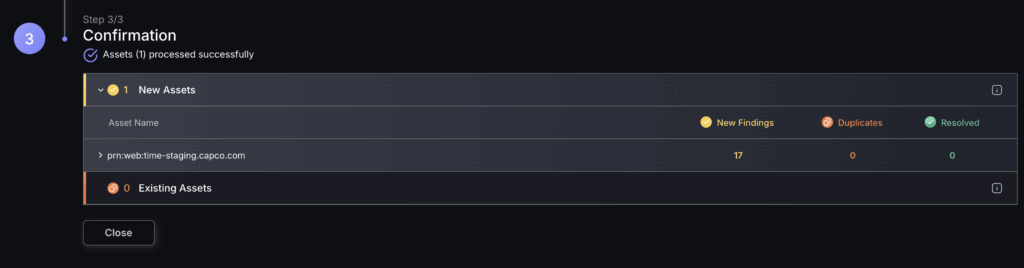
- Select “Close“, you will now see your new Assessment Import has been updated in the table.
