API Client Credentials
In order to integrate with Orca, you’ll need the API Key and also be an admin user. The following steps guide you through the credentials creation process.
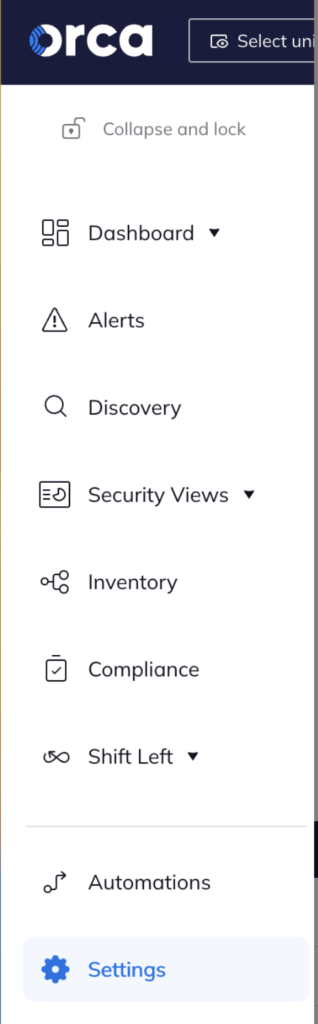
- To create your API Client credentials log into your Orca organisation and on the left-hand menu click on “Settings” then expand “Users and Permissions”.
- Then click on “API” under users and permissions.
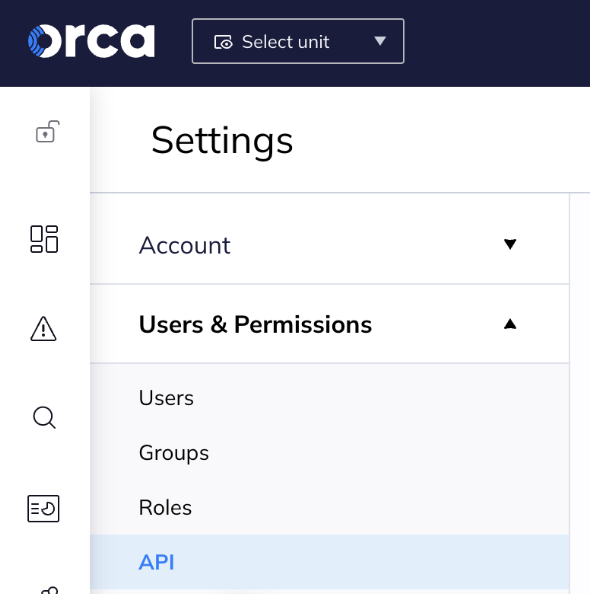
- Click the blue “Create API Token” button located on the right.

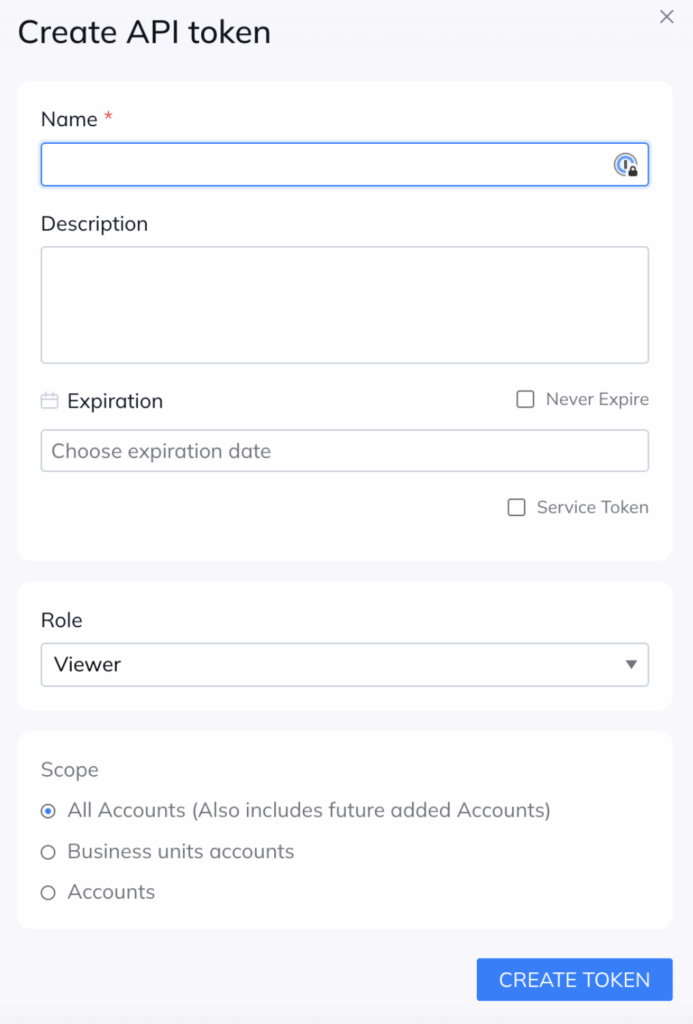
- Enter API token details:
- Name – Name for the API token within the Orca platform, e.g. Phoenix integration.
- Description – you can leave this empty
- Expiration – set no Expiration date
- Tick the “Service Token” box to ensure the API token is not tied to your individual user account
- Role – Set this to Viewer
- Scope – This is to be set based on your preference.
Once you click “Create token” at the bottom, you will be given the API key
Copy this credential to a safe location since you will need them later to configure the integration in Phoenix Security. Please remember that this is the last time that you will have access to the Secret.
Create an Orca Scanner Integration
- On the sidebar menu, navigate to the Scanners tab in the Integrations section.
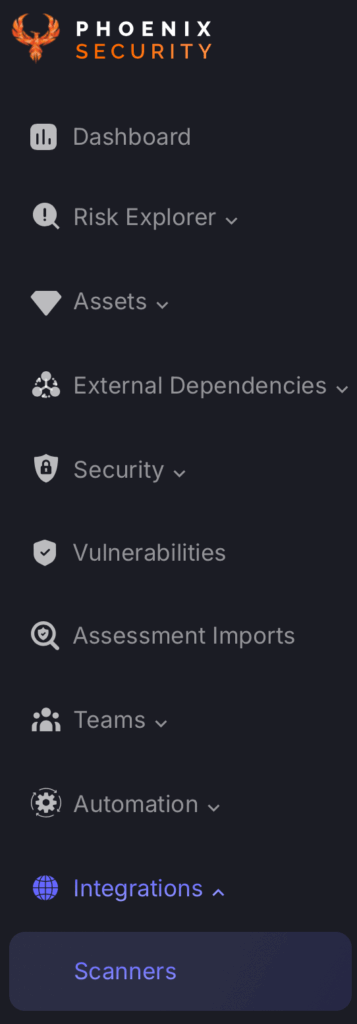
- Scroll down to SAST, or SCA/FOSS or Container or Cloud scanners and hover your mouse over the Orca scanner template. Then click on the template to add the scanner.

- On the next step of the process, enter the credentials created in the first part of this guide.
- Scanner Name: The name of the scanner to appear on Phoenix platform.
- Server URL: The API Root URL for your data centre. This depends on your region, so you should refer to the table below.
- API key: This should have been saved from earlier.

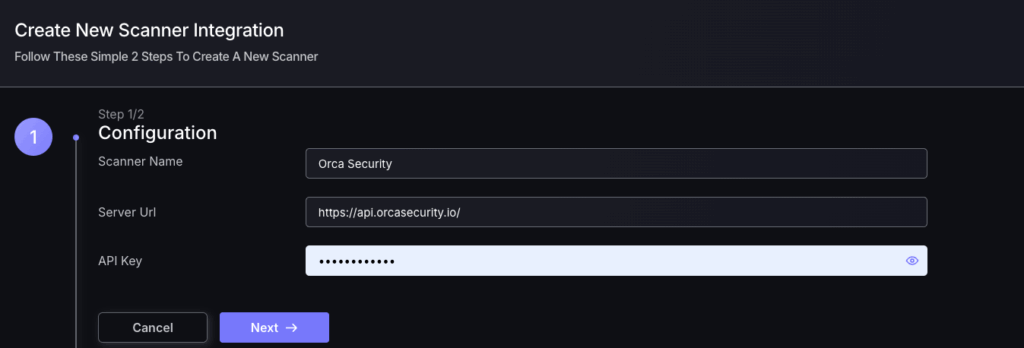
- Click on the ‘Next’ button
- Select whether to fetch vulnerabilities from all Accounts accessible to the Access Token, or to choose which ones to include or exclude.
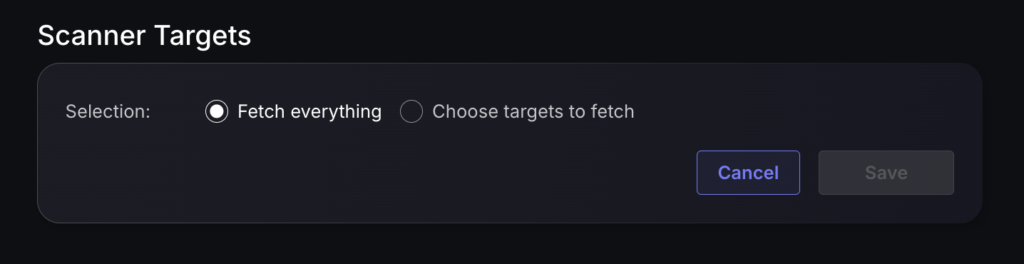
- Then click on “Save” to complete the process.
Unless there are issues with the credentials, the new scanner will appear in your list of integrations (under Integrations > Scanners) and the platform will start to collect asset and vulnerability details from the selected repositories (available through the choose targets to fetch section).
All the scanner’s assets and vulnerabilities will be automatically added to your account’s Default Application, and will be available to start assigning them to user-created Applications as required.