JFrog Xray API Credentials
To authenticate against the JFrog API you need to create an Access Token. In order to do this, navigate to Administration > User Management > Access Tokens in your JFrog UI.

Click on “+ Generate Token“, on the top-right corner, and complete the token creation form.
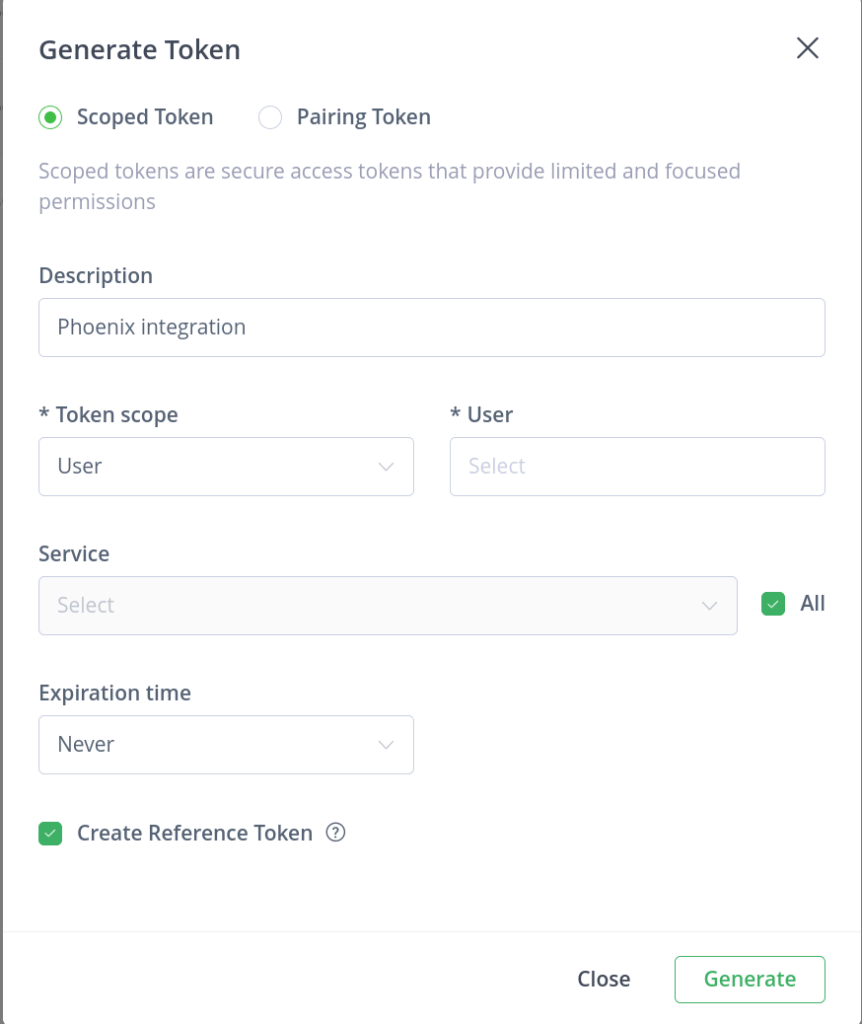
- Select Scoped Token
- Add a Description to remember the purpose of the token
- You can scope the toke to a User with the right permissions.
- Select All in Service
- Choose your expiration policy
- Ensure that you select “Create Reference Token“, since this is the one that you will need to configure the Phoenix integration.
Then clink on Generate. Copy the token values shown at this point – this is the last time they will be available.
Then your token will appear in the list.

Create a JFrog Xray Integration
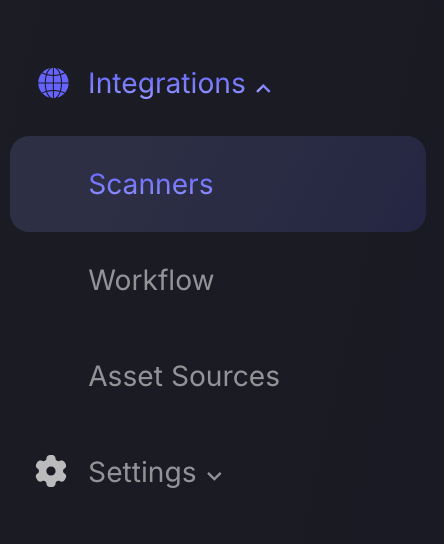
- On the sidebar menu, navigate to the Scanners tab in the Integrations section.
- Click on the JFrog Xray scanner to create a new integration. If there’s already an existing JFrog Xray scanner integration, click on the three dots in the top right corner of the scanner and then select Create new scanner integration.

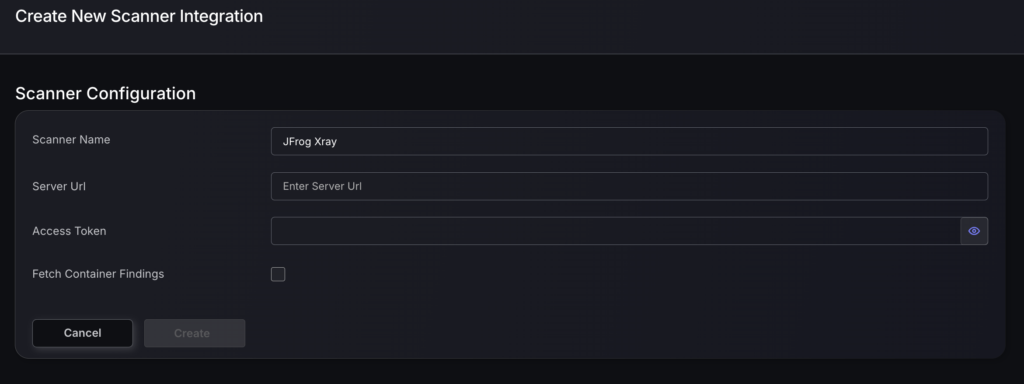
- Next you need to provide the required details for the scanner integration. In the case of JFrog Xray you need to provide:
- Server URL – URL of your organization’s JFrog Xray account.
- Access Token – The “Reference Token” generated during the previous step.
- Tick the box if you’d like to Fetch Container Findings
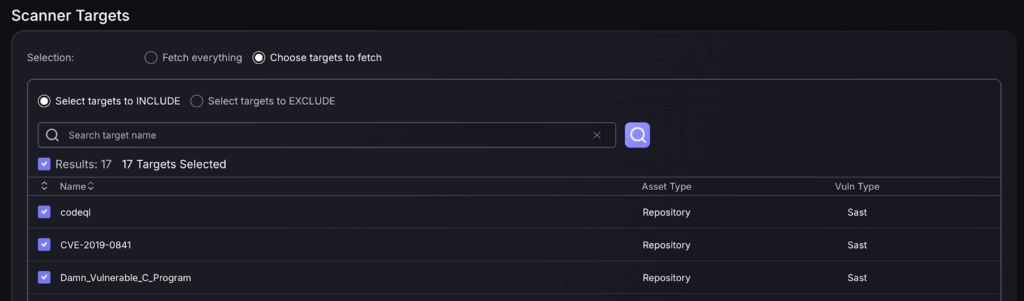
- The next step is to select the targets you would like to fetch.
- Selecting Fetch everything will fetch all data from all targets from the scanner, including any new targets that may be found in the future. You may now select Save Scanner and be done with the process. If you change your mind you can edit target selection at a later time.
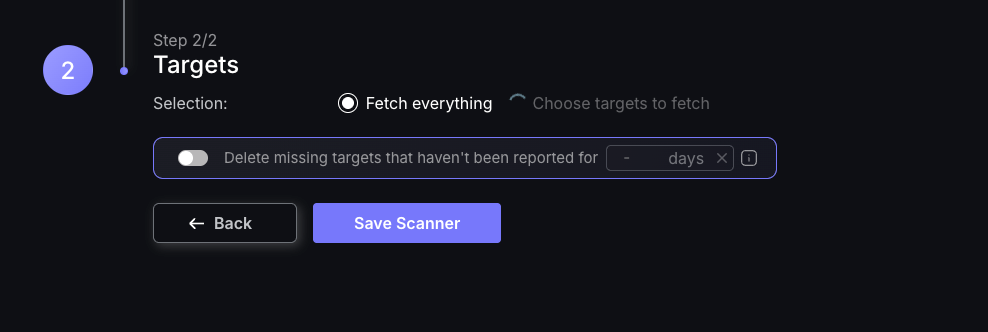
- If you desire to choose which targets are being fetched select Choose targets to fetch you will be prompted to select which targets to include/exclude and then save the scanner.
- Select targets to INCLUDE : only data from selected targets will be fetched. Keep in mind that selecting all targets isn’t the same as selecting Fetch everything as it will only collect the ones that are selected and any new targets that may be found in the future will not be included in the fetch.
- Select targets to EXCLUDE : only data from selected targets will be excluded from the fetch. Any new targets that may be found in the future will be included.
For a more detailed guide on target selection check out our Creating a New Scanner Integration guide.
Unless there are issues with the credentials, the new scanner will appear in your list of integrations (under Integrations > Scanners) and the platform will start to collect asset and vulnerability details from all Subscriptions available through the integration credentials.
All the scanner’s assets and vulnerabilities will be automatically added to your account’s Default Applications and Environments, and will be available to start assigning them to user-created Applications as required.