API Client Credentials
In order to integrate with GCP, you’ll need a set of API Client credentials. The following steps guide you through the API credentials creation process.
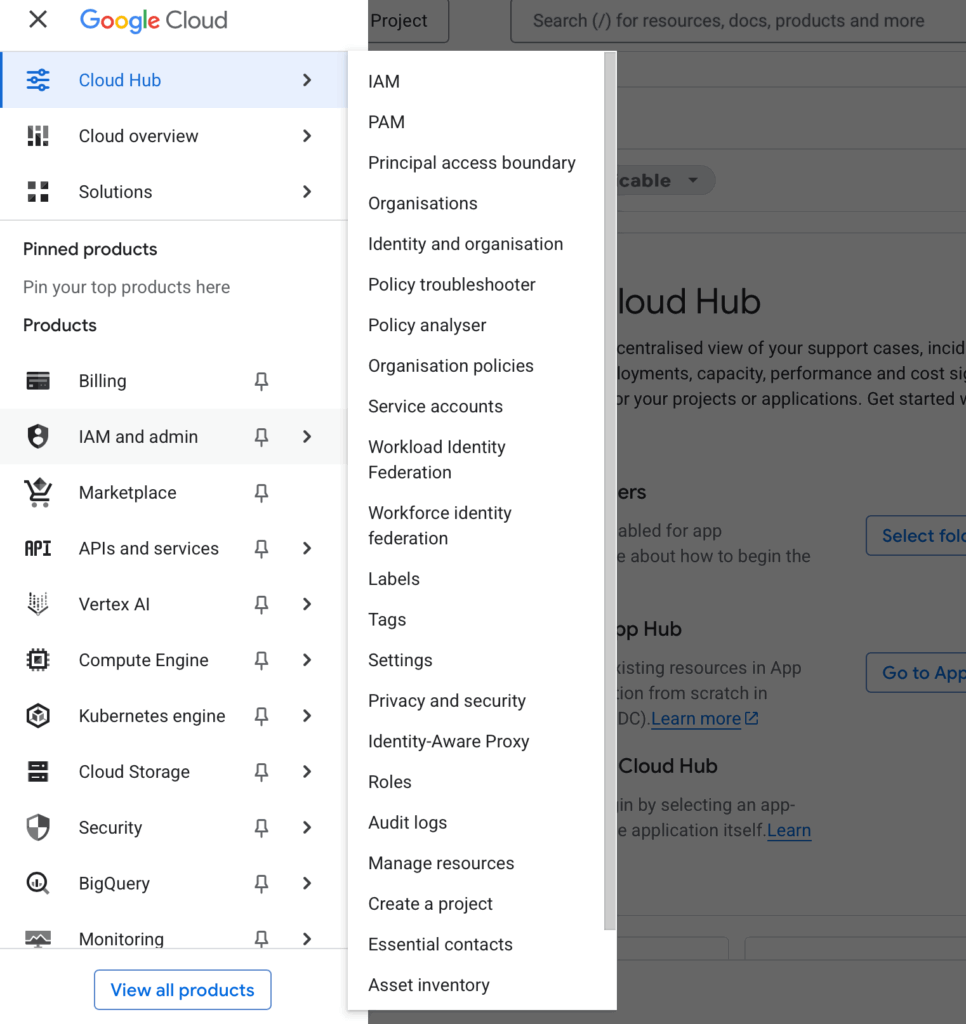
- To create your API Client credentials log into your Google Cloud organisation and on the left-hand menu click on “IAM and admin” and then select “Service accounts“.
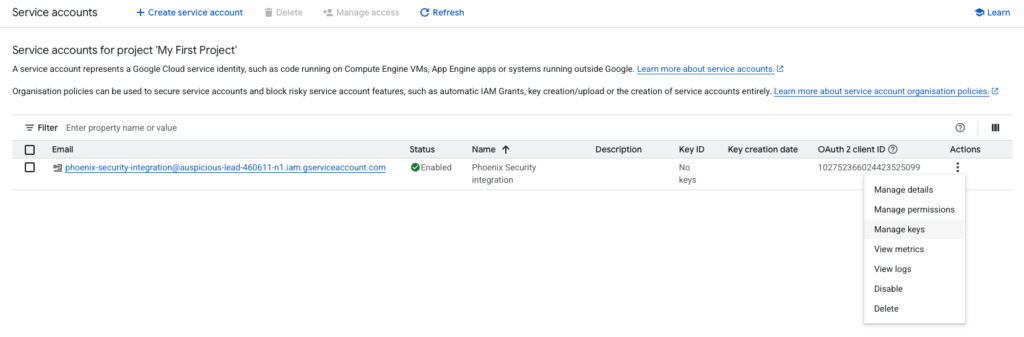
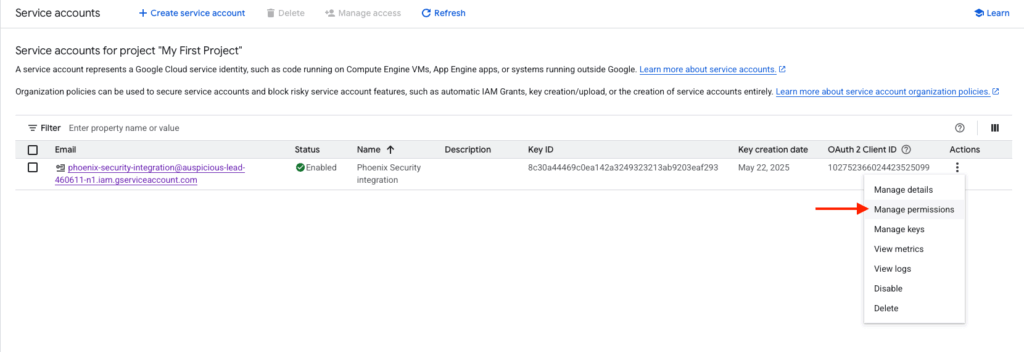
- Then click on “Create service account” on the top of the page if you already do not have one created. Now navigate to the three dots on the right of the created service and click on them to select “Manage Keys” as indicated by the screenshot below.
- To create a new key press “Add key”-“Create new key” then select the “JSON” option.
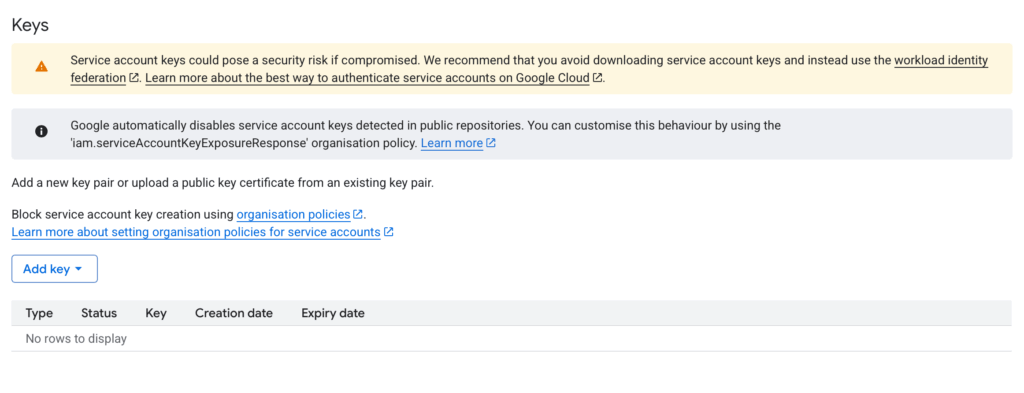
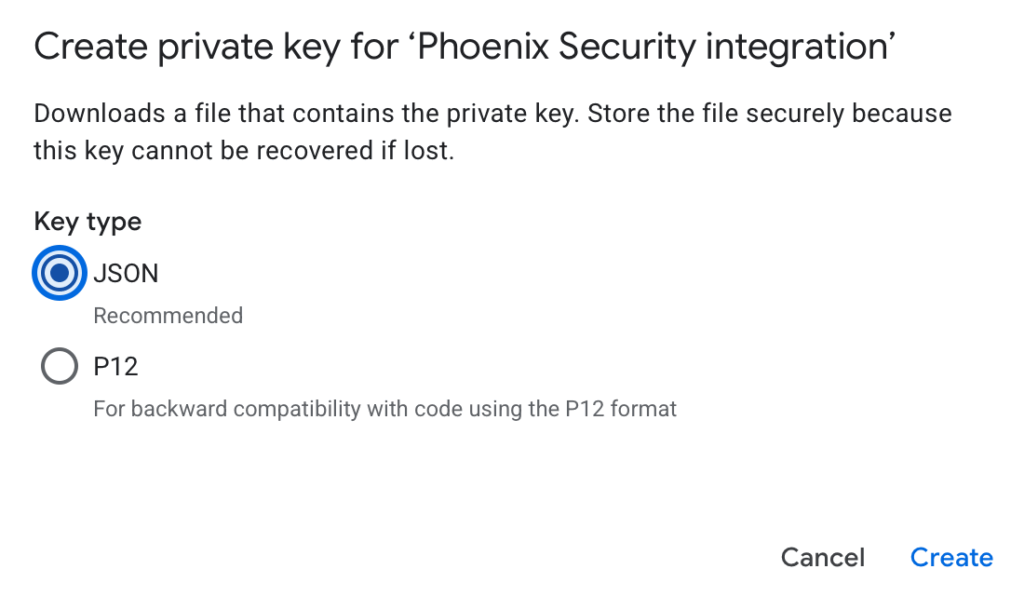
- Remember to press create and once complete the new key should be availible in the key table. it will also ask you permission to download a JSON file which you should agree to and store in a safe place for later use with the integration on the Phoenix Platform.

Organization ID
To get you Organization ID follow these steps:
- Given that you are logged into your Google Cloud organisation. On the left-hand menu click on “IAM and admin” and then select “Organisations“.
- This will display your organisation details including you Organisation ID which will need to be saved to a safe location for later use on the Phoenix platform.

Setting Permissions
- Once your service account has been created navigate to the three dots on the right hand side of the service account and select “Manage permissions“.
- Navigate to “Grant access” to set which google user are granted access to modify service accounts.
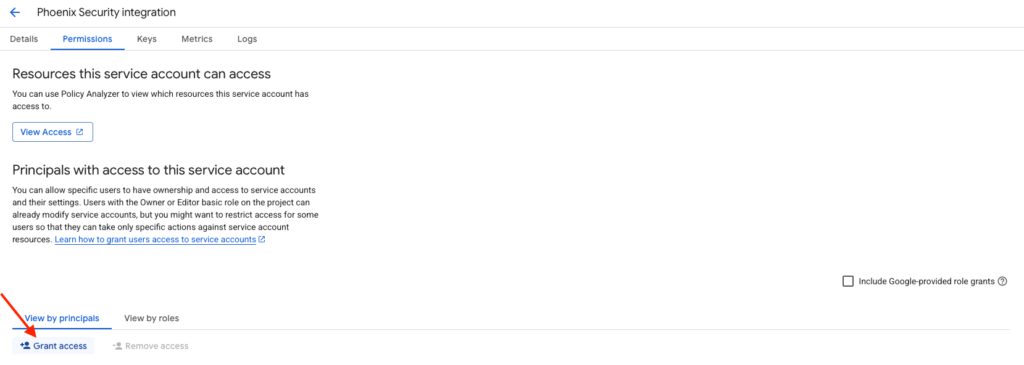
- This page will allow you to add a principle and assign user roles to the principle to allow users with certain permission to manage the service account.
- Select your security team google account group under the “Add principles” section.
- Assign roles:
- Cloud Asset Owner
- Cloud Asset Viewer
- Security Centre Assets Viewer
- Security Centre Findings Viewer
- Security Centre Sources Viewer
Create a GCP Security Centre Scanner Integration
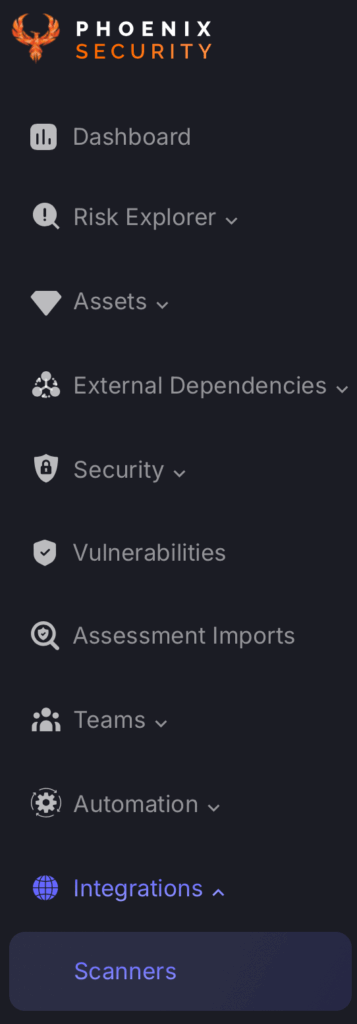
- On the sidebar menu, navigate to the Scanners tab in the Integrations section.
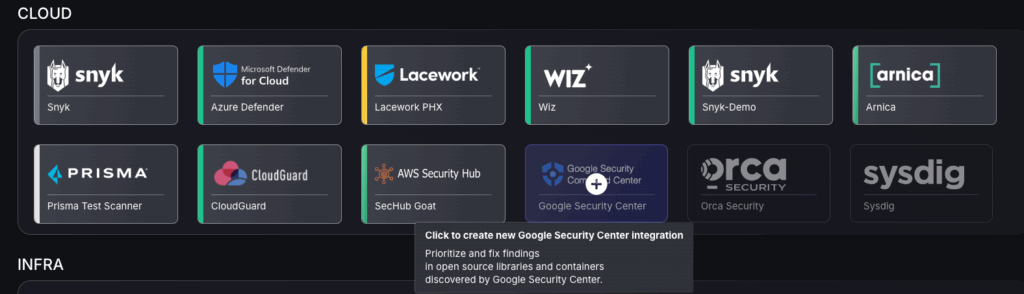
- Scroll down to Cloud scanners and hover your mouse over the GSP scanner template. Then click on the template to add the scanner.
- On the next step of the process, enter the credentials created in the first part of this guide.
- Scanner Name: The name of the scanner to appear on Phoenix platform.
- Organization ID: This should be saved from earlier and is the Organisation ID displayed on Google cloud account.
- Service Account Key JSON: If the steps above were followed appropriately to get API client credentials then you should have saved a JSON file which can be dragged into the box to be uploaded.
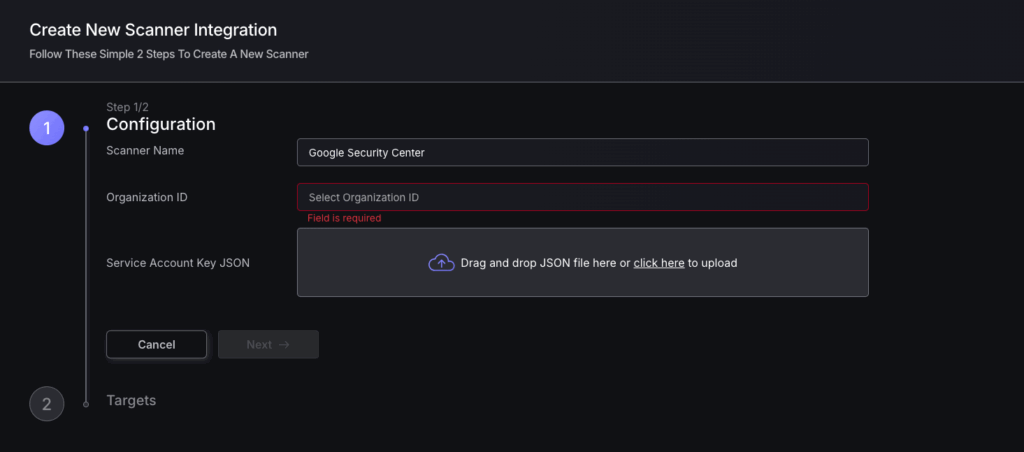
- Click on the ‘Next’ button
- Select whether to fetch vulnerabilities from all repositories accessible to the Access Token, or to choose which ones to include or exclude.
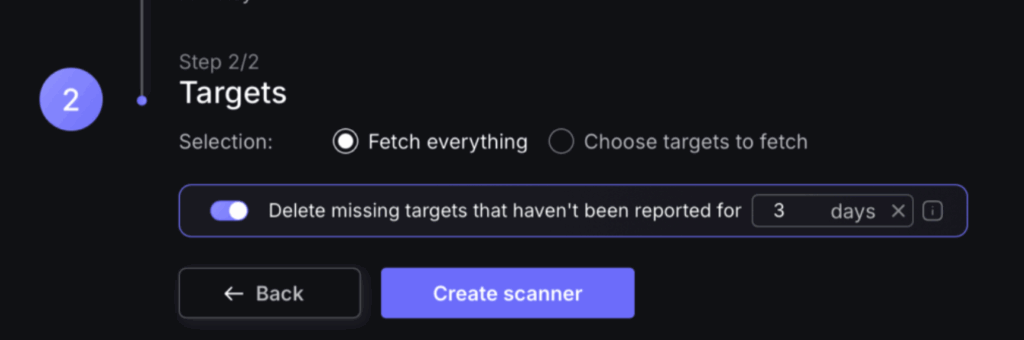
- Then click on “Create scanner” to complete the process.
Unless there are issues with the credentials, the new scanner will appear in your list of integrations (under Integrations > Scanners) and the platform will start to collect asset and vulnerability details from the selected repositories (available through the choose targets to fetch section).
All the scanner’s assets and vulnerabilities will be automatically added to your account’s Default Application, and will be available to start assigning them to user-created Applications as required.