API Client Credentials
In order to integrate with Aikido, you’ll need a set of API Client credentials. The following steps guide you through the credentials creation process.
- To create your API Client credentials, log into your Aikido organisation and on the left hand side of the page, within the purple navigation bar, select “Integrations“.

- Scroll down to the very bottom of the page and select “Manage” on “Public REST API”.

- Select “Add Client” in the top right hand corner of the page.

Enter the following details:
- App name – The name of the key to be displayed on the Aikido platform.
- Scope – Select the following read scopes:
- Issues:read
- Clouds:read
- Repositories:read
- Containers:read
- Reports:read
- Custom SAST Rules:read
- Virtual machines:read

- After you have clicked save to confirm the API client configuration, you must save the Client secret as this will be the last time it is availible to see. You should now have the following details needed to create the integration on the Phoenix platform:
- Client ID – located in the table once a key has been created.
- Client Secret – displayed immediateley once a key has been created.

Create an Aikido Scanner Integration
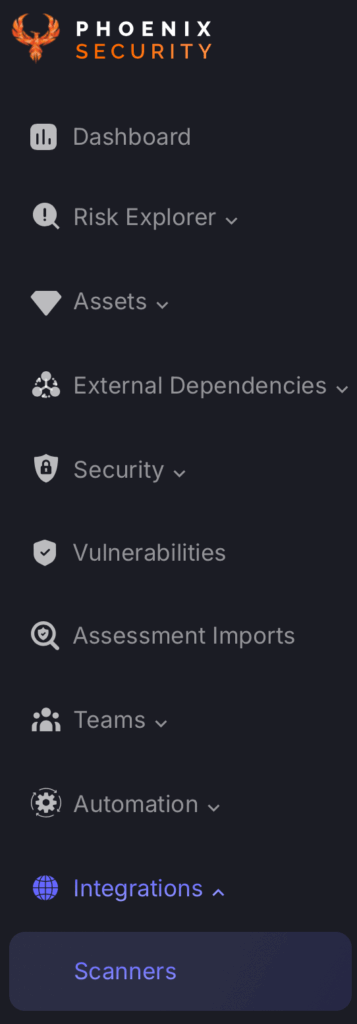
- On the sidebar menu, navigate to the Scanners tab in the Integrations section.

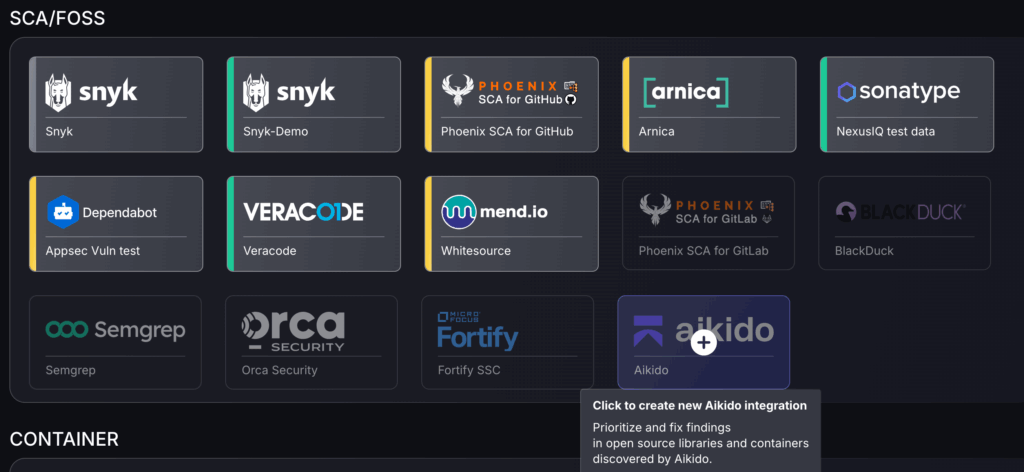
- Scroll down to SAST or SCA/FOSS scanners and hover your mouse over the Aikido scanner template. Then click on the template to add the scanner.

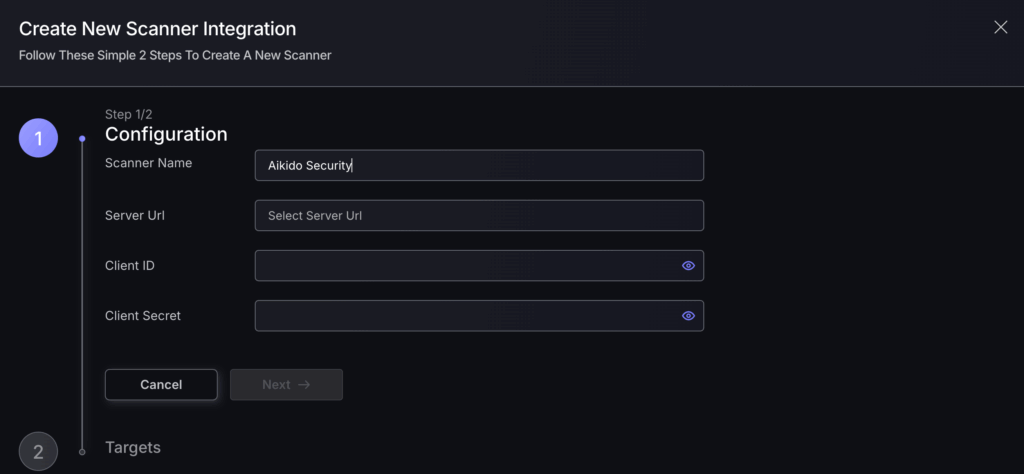
- On the next step of the process, enter the credentials created in the first part of this guide.
- Scanner Name: The name of the scanner to appear on Phoenix platform.
- Server URL: The API Root URL for your data centre – it will default to the correct URL so can be left empty.
- Client ID: This should have been saved from earlier when setting up API credentials.
- Client Secret: Should have been saved from earlier, if not a new key will nedd to be created.

- Click on the ‘Next’ button
- Select whether to fetch vulnerabilities from all repositories accessible to the Access Token, or to choose which ones to include or exclude.

- Then click on “Create scanner” to complete the process.
Unless there are issues with the credentials, the new scanner will appear in your list of integrations (under Integrations > Scanners) and the platform will start to collect asset and vulnerability details from the selected repositories (available through the choose targets to fetch section).
All the scanner’s assets and vulnerabilities will be automatically added to your account’s Default Application, and will be available to start assigning them to user-created Applications as required.

