Generate API key
- Go to Account Settings in the user menu, then go to the API-keys tab. Please note that you need admin permissions to be able to see this tab.


- Generate a new API key by clicking the Generate API-Key button.

- If you already have API-keys, the button is found in the upper right corner.

- When clicking the Generate API-key button a modal will appear and here you can specify the name and the description of the API-key, this is optional.

- The API-key is now generated and you can now configure the API-key. Don’t enable the Secret Key and leave the default permissions.

Create a Detectify Integration
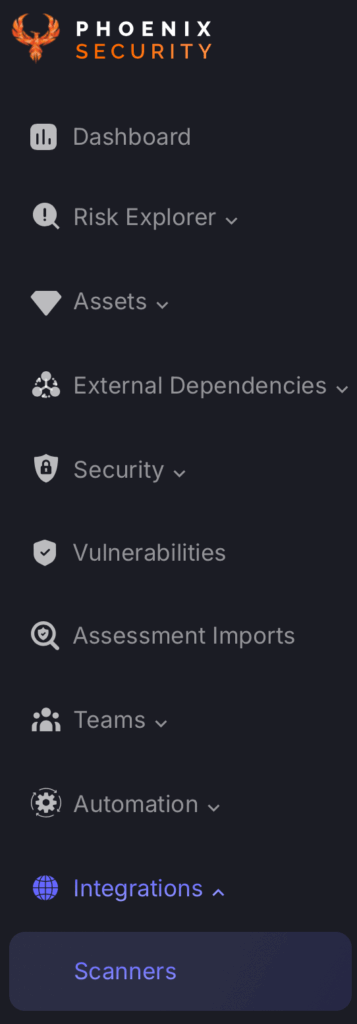
- On the sidebar menu, navigate to the Scanners tab in the Integrations section.
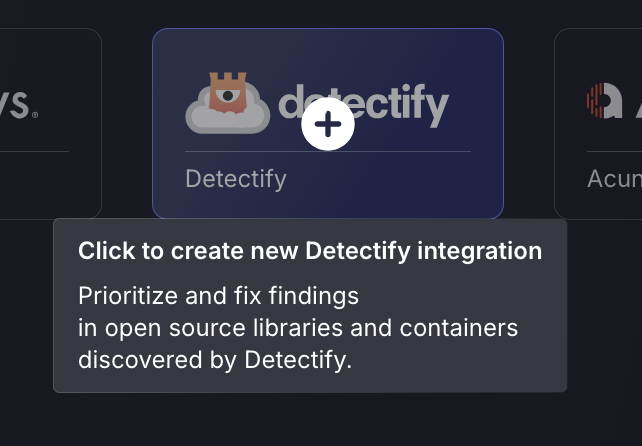
- Scroll down to WEB scanners and hover your mouse over the Detectify scanner template. Then click on the template to add the scanner.
- On the next step of the process, enter the credentials created in the first part of this guide.
- Scanner Name: The name of the scanner to appear on Phoenix platform.
- Server URL: The API Root URL for your data centre. This will set to the default if not filled in
- API key: obtained from the section above
- Finding Status to Fetch: Select the status of the findings you wish to fetch from the list: Accepted Risk, False Positive, Patched (Fixed)
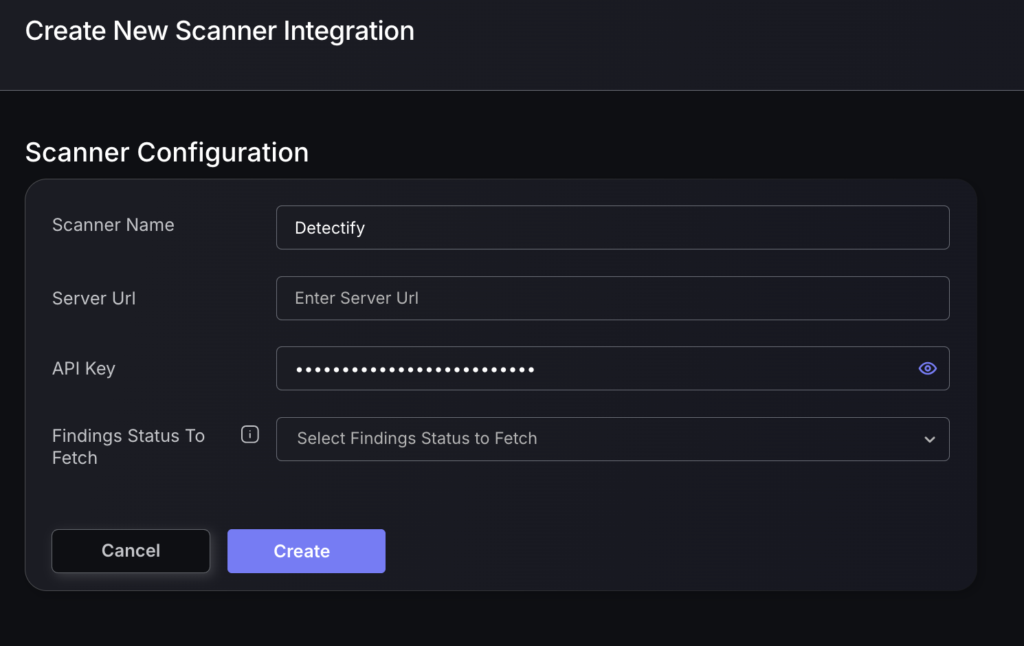
- Click on the ‘Create’ button
- Select whether to fetch vulnerabilities from all sites accessible to the Access Token, or to choose which ones to include or exclude.
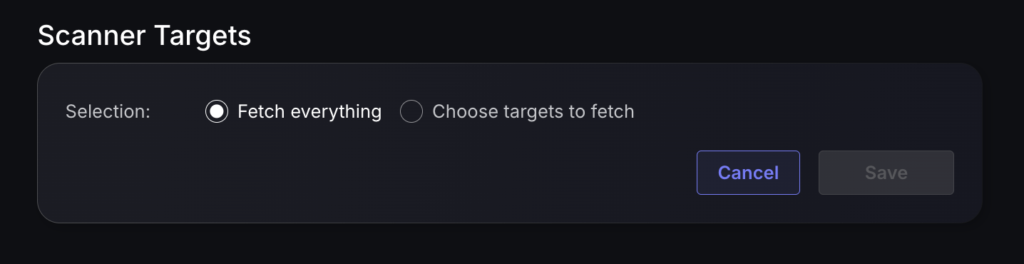
- Then click on “Save” to complete the process.
Unless there are issues with the credentials, the new scanner will appear in your list of integrations (under Integrations > Scanners) and the platform will start to collect asset and vulnerability details from the selected repositories (available through the choose targets to fetch section).
All the scanner’s assets and vulnerabilities will be automatically added to your account’s Default Application, and will be available to start assigning them to user-created Applications as required.