Lacework API Credentials
To integrate with the Lacework API you need a valid set of Account, Access Key Id and Key Secret. In order to gather these details:
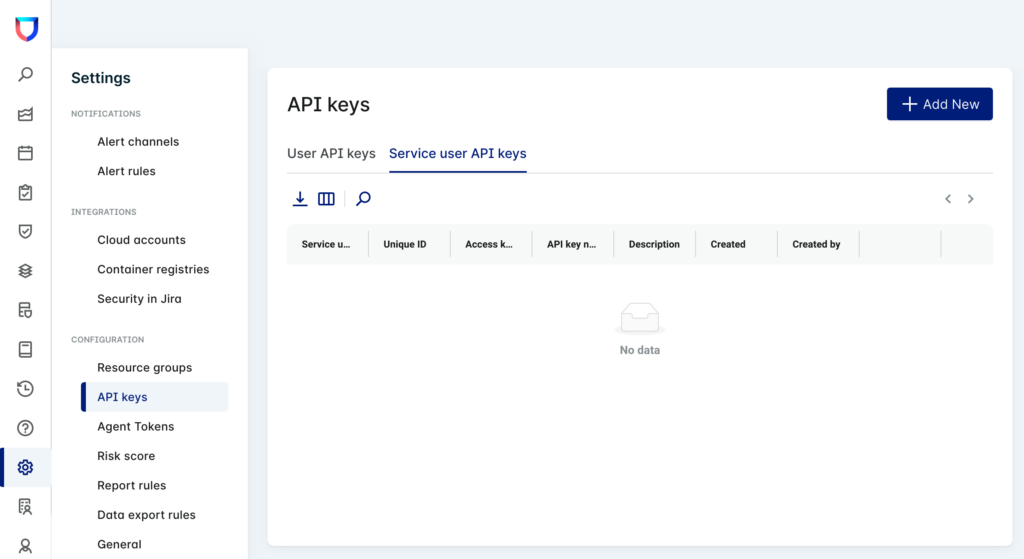
- Go to Settings > API Keys in your Lacework console.
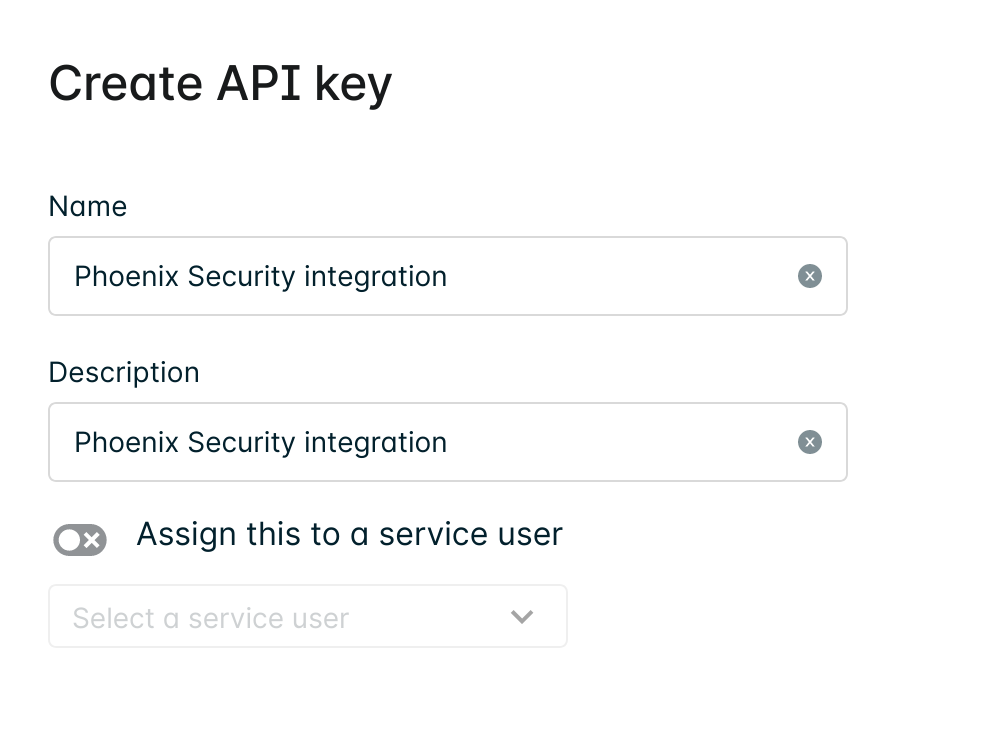
- Click on “+ Add New” and enter the key Name and Description. Optionality, you can assign it to a service user, if you have one.
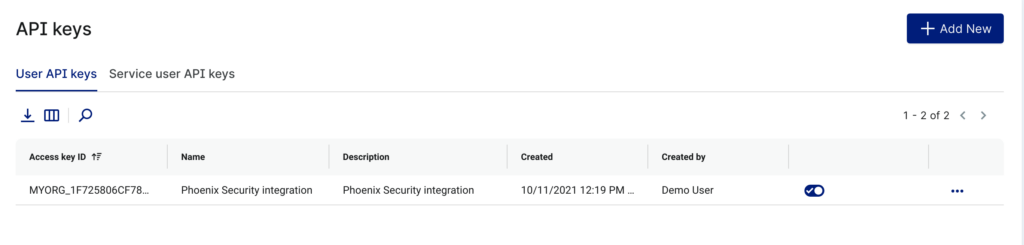
- Once you have completed the process above you should be able to see your key under User API Keys or Service API Keys, depending on whether you assigned it to a service user or not.
- Click on the context menu to the right of the key details (three dots) and select Download.
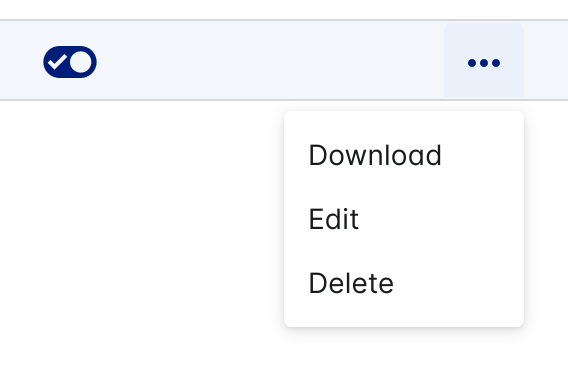
- Download and open the file, which contains a JSON object with three properties that should be used for your credentials.
{
  "keyId": "DEMOACCOUNT_C566BE1439A19BA763ECF6B60359C4DCBE2917BBCCE7323",
  "secret": "_1b044b977b351e39b9f4299c89613136",
  "account": "demoaccount.lacework.net"
}
Where:
- keyId -> Access Key Id
- secret -> Key Secret
- account (sub-domain; bold part) -> Account
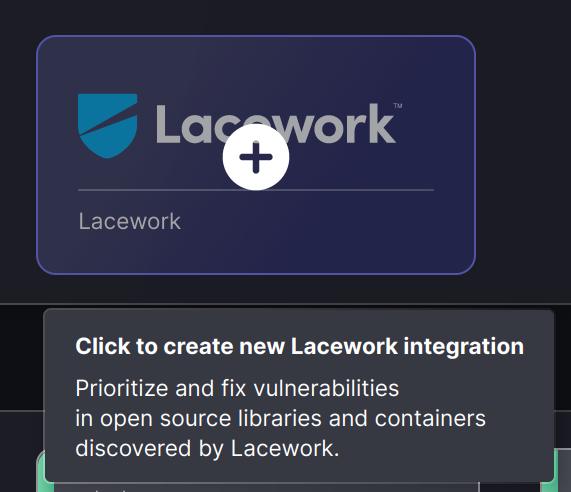
Create a Lacework Integration
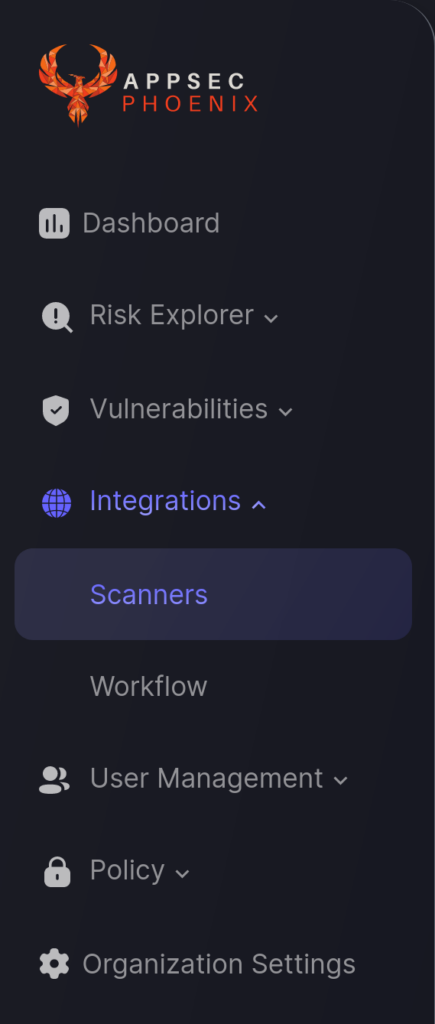
- On the sidebar menu, navigate to the Scanners tab in the Integrations section.
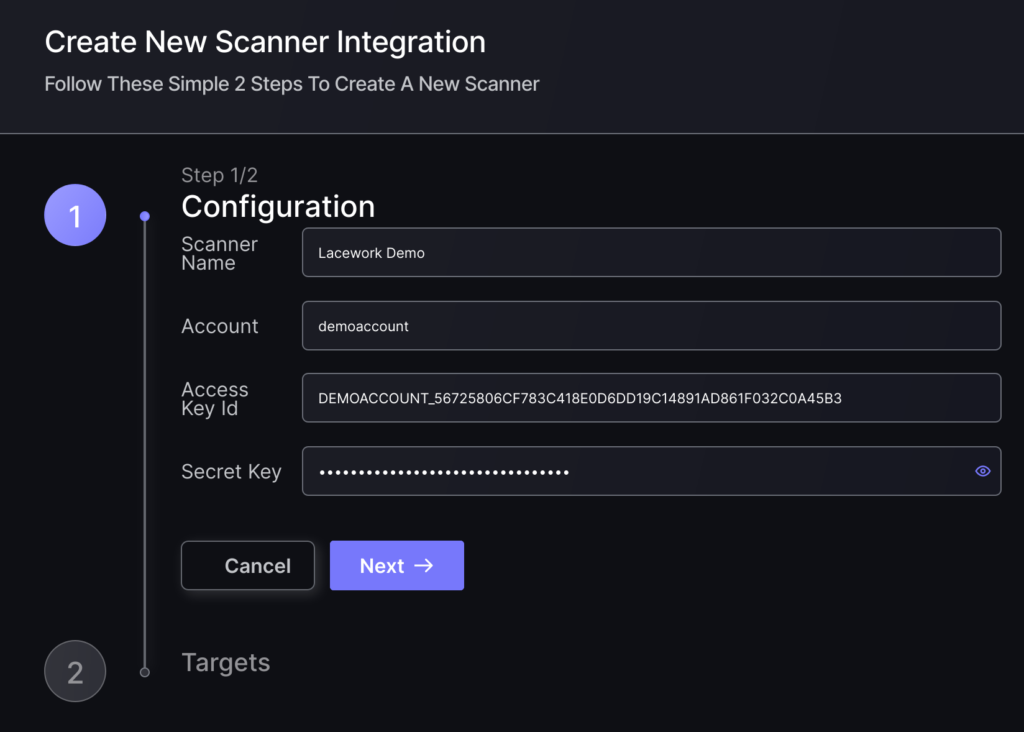
- On the second step you need to provide the required details for the scanner integration. In the case of Lacenwork you need to provide the details shown below, following the mapping provided earlier:
- In the next step you will be able to select whether the platform fetches all the assets and vulnerabilities available form the scanner, or you can include/exclude individual “targets” (container, cloud accounts, etc), if supported by the scanner.
- To finish the configuration click on “Create Scanner“.
Unless there are issues with the credentials, the new scanner will appear in your list of integrations (under Integrations > Scanners) and the platform will start to collect asset and vulnerability details from all Subscriptions available through the integration credentials.
All the scanner’s assets and vulnerabilities will be automatically added to your account’s Default Environments, and will be available to start assigning them to user-created Applications as required.