Veracode AppSec API Credentials
To integrate with Veracode AppSec API you need a valid set of API ID/Secret. In order to do so, please follow the instructions below, which are a copy of the ones here.
To complete this task:
- Log in to the Veracode Platform.
- From the user account dropdown menu, select API Credentials.
- Click Generate API Credentials.
- Copy the ID and secret key to a secure place. Veracode recommends storing your credentials in an API credentials file.
Results:
You can only see these credentials this one time. You have the choice of setting them as environment variables or putting them in a credentials file. When you leave this page you cannot review your current credentials. The creation of new credentials revokes any old credentials after 24 hours. You can always revoke Veracode API credentials, if necessary. The credentials expire in one calendar year. If you want to extend the credentials beyond the expiration date, contact Veracode Technical Support at support@veracode.com.
After you create Veracode API credentials, you can use these credentials to automatically log in to Veracode APIs and plugins without using a separate API service account to be able to access the APIs.
Create a Veracode AppSec Integration
- On the sidebar menu, navigate to the Scanners tab in the Integrations section.
- Click on the “Add Scanner Integration” button on the right side of the page.
- In the first step, enter a name for this scanner integration and select Veracode from the list of available integrations; then click “Next“.
- On the second step you need to provide the required details for the scanner integration. In the case of Veracode you need to provide:
- Server URL: The correct REST API URL for your region as documented here: https://docs.veracode.com/r/Region_Domains_for_Veracode_APIs
- API ID: Enter the API ID obtained in the initial section above.
- API Key: Enter the API secret key obtained in the initial section above.
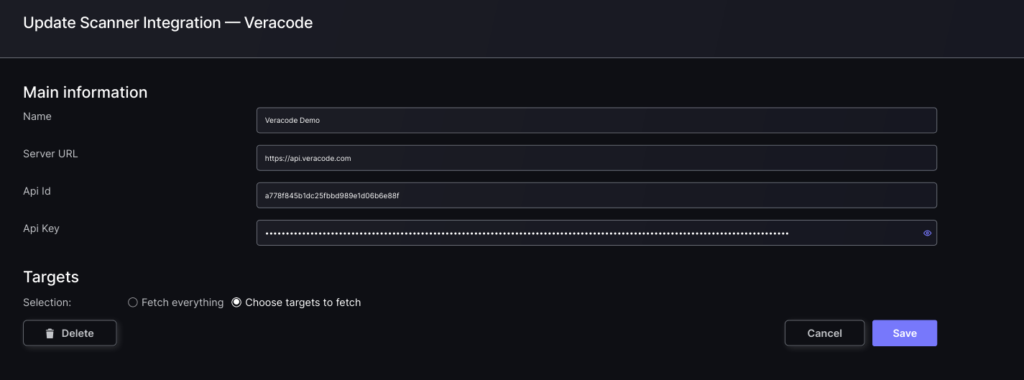
- In the next step you will be able to select whether the platform fetches all the assets and vulnerabilities available form the scanner, or you include/exclude individual “targets” (applications, project, etc), if supported by the scanner.
- To finish the configuration click on “Create Scanner“.
Unless there are issues with the credentials, the new scanner will appear in your list of integrations (under Integrations > Scanners) and the platform will start to collect asset and vulnerability details from all Subscriptions available through the integration credentials.
All the scanner’s assets and vulnerabilities will be automatically added to your account’s Default Application, and will be available to start assigning them to user-created Applications as required.