API Client Credentials
In order to integrate with CrowdStrike Falcon you’ll need a set of API Client credentials. The follow steps guide you through the credentials creation process.
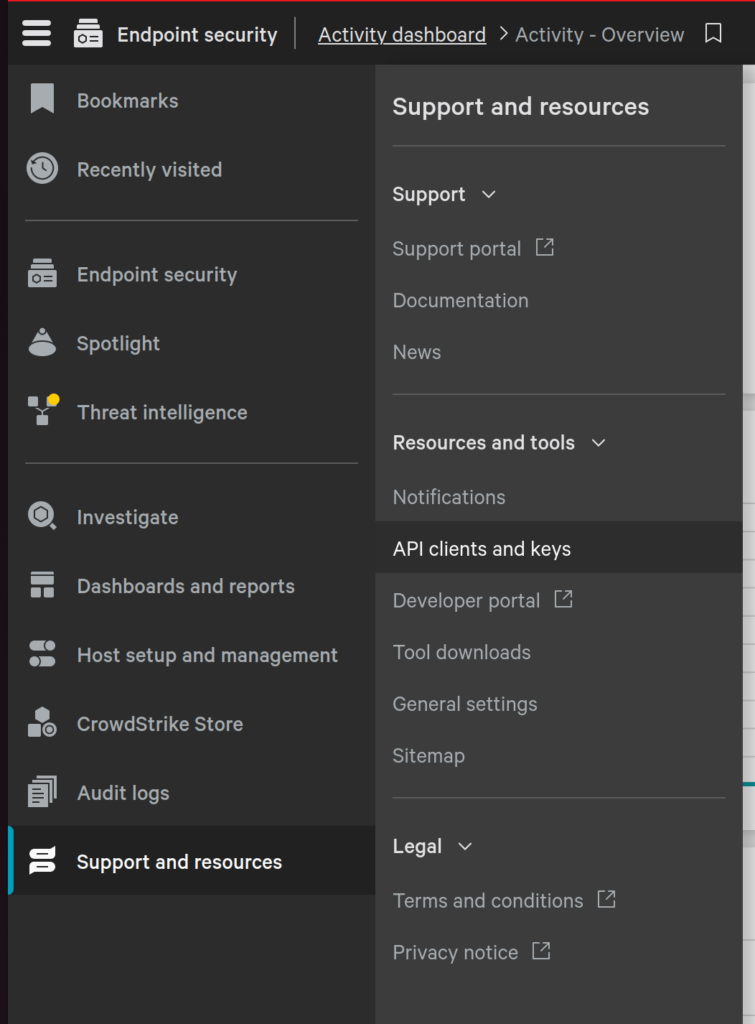
- To create your API Client credentials log into your CrowdStrike Falcon instance and on the left-hand menu click on “Support and resources” and then select “API clients and keys”.
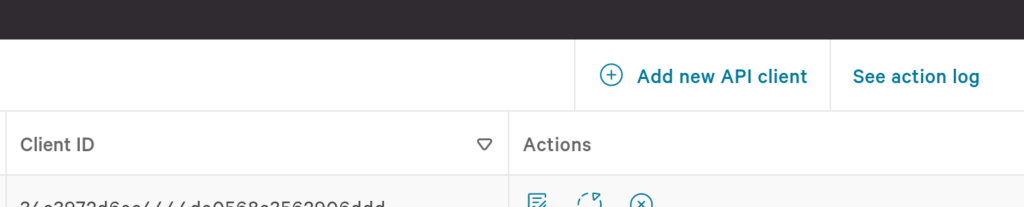
- Then click on “Add new API client” on the top-right corner of the page.
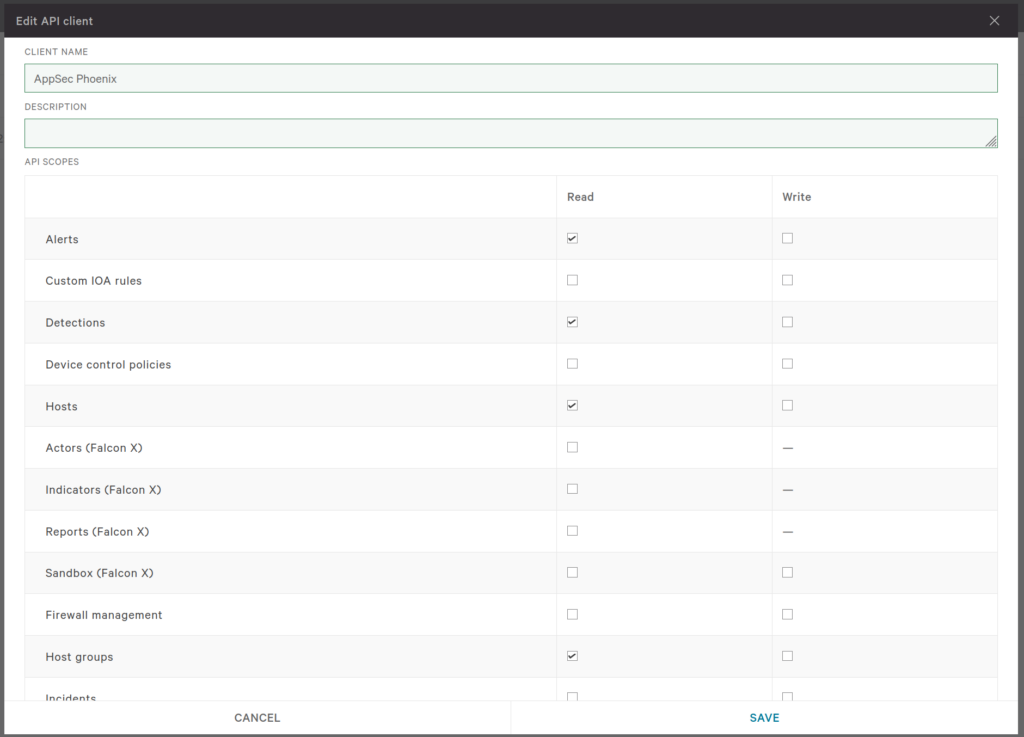
- In the creation form enter a name for the client credentials and select the following scopes:
- Alerts
- Detections
- Hosts
- Host groups
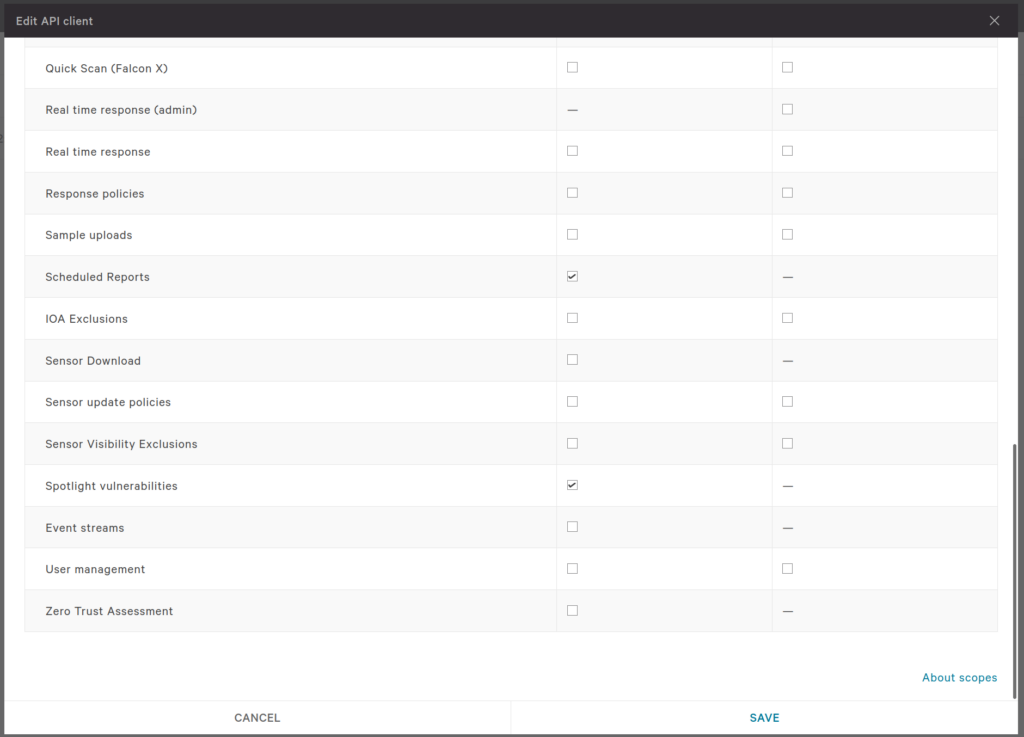
- Scheduled reports
- Spotlight vulnerabilities
Please note that Spotlight needs to be activated for this integration.
- Click on “Save” to confirm the API client configuration. At this point you will see a pop-up with the details of the API credentials.
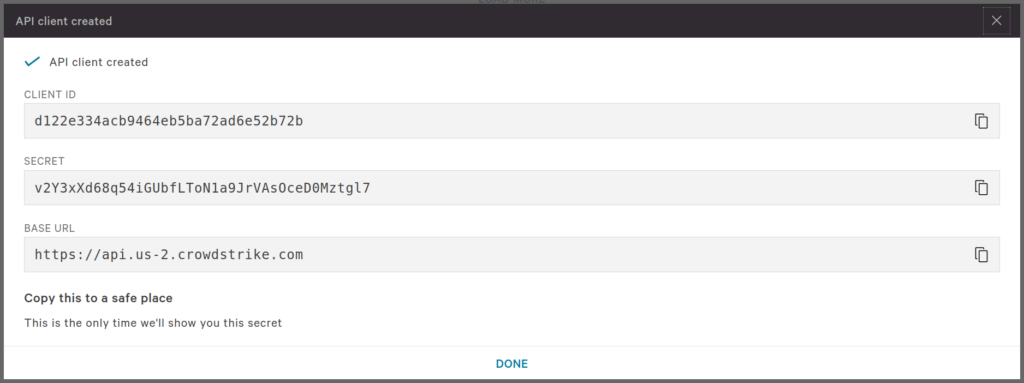
- Copy these credentials to a safe location since you will need them later to configure the integration in Phoenix Security. Please remember that this is the last time that you will have access to the Secret – you can still see the Client ID and Base URL in the API clients list page.
Create a CrowdStrike Falcon Integration
- On the sidebar menu, navigate to the Scanners tab in the Integrations section.
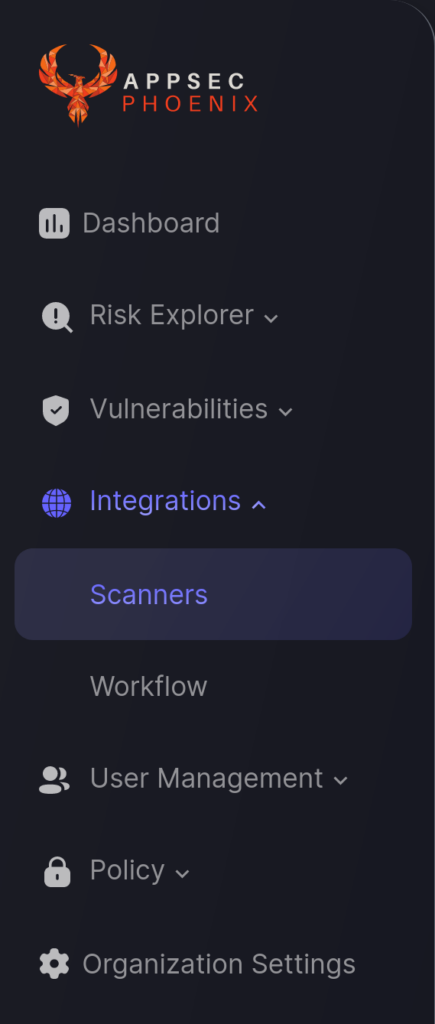
- Click on the “Add Scanner Integration” button on the right side of the page.
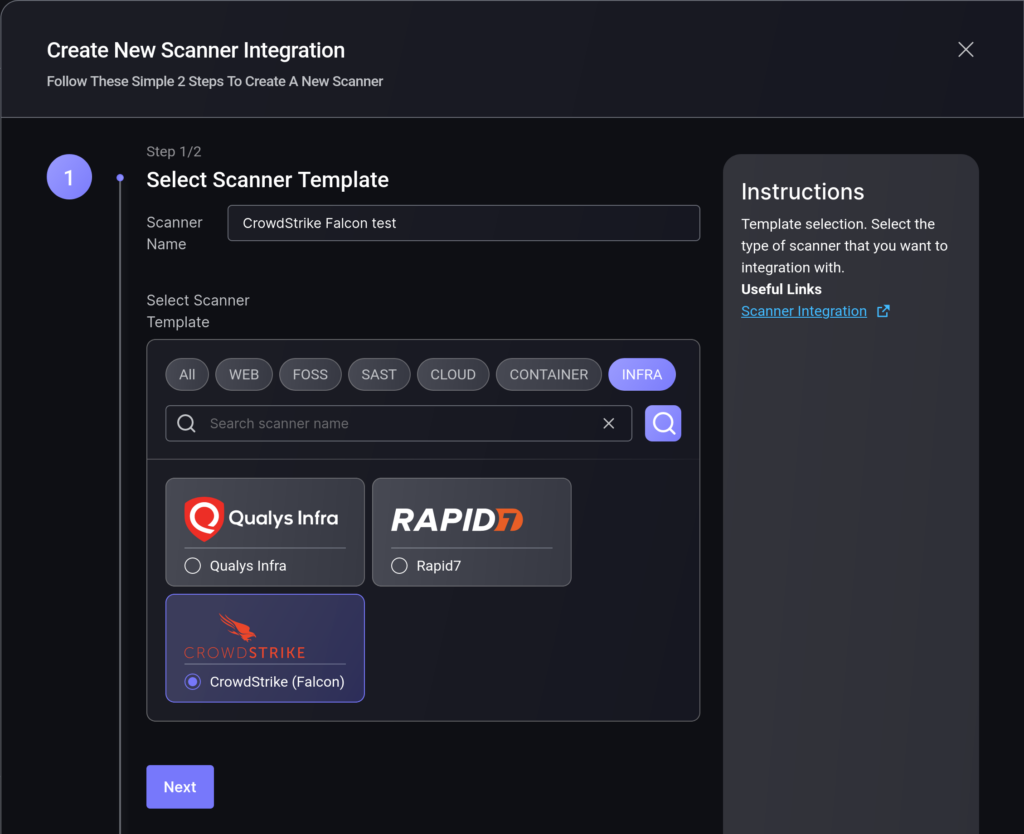
- In the first step, enter a name for this scanner integration and select CrowdStrike (Falcon) from the list of available integrations; then click “Next“.
On the second step you need to provide the required details for the scanner integration. In the case of CrowdStrike you need to provide (as obtained in the previous section):
- Server URL
- Client Id
- Secret
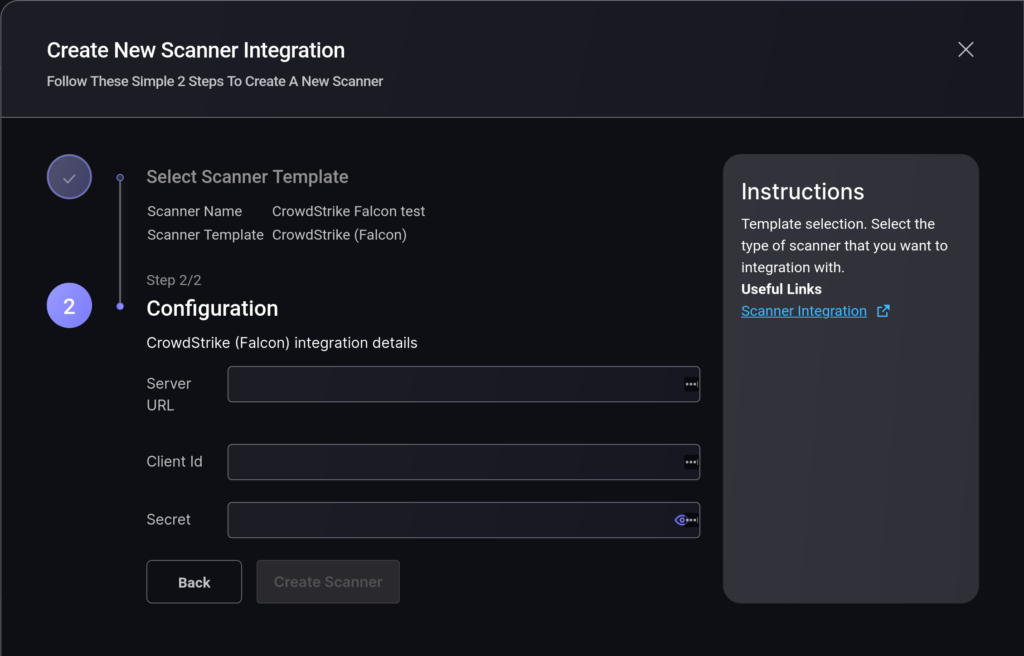
5. Click on the ‘Create Scanner’ button
After the scanner integration is created the new entry appears on the Scanners list page.

From this point onwards you will be able to select this scanner integration when creating applications Components.