Qualys Infra Credentials
To integrate with Qualys Infra API you need a valid set of user credentials (username and password). It might be advisable to create a user dedicated to API access, which would make it easier to remove access in case of suspected compromise.
Further API access details can be found at https://www.qualys.com/docs/qualys-api-vmpc-user-guide.pdf
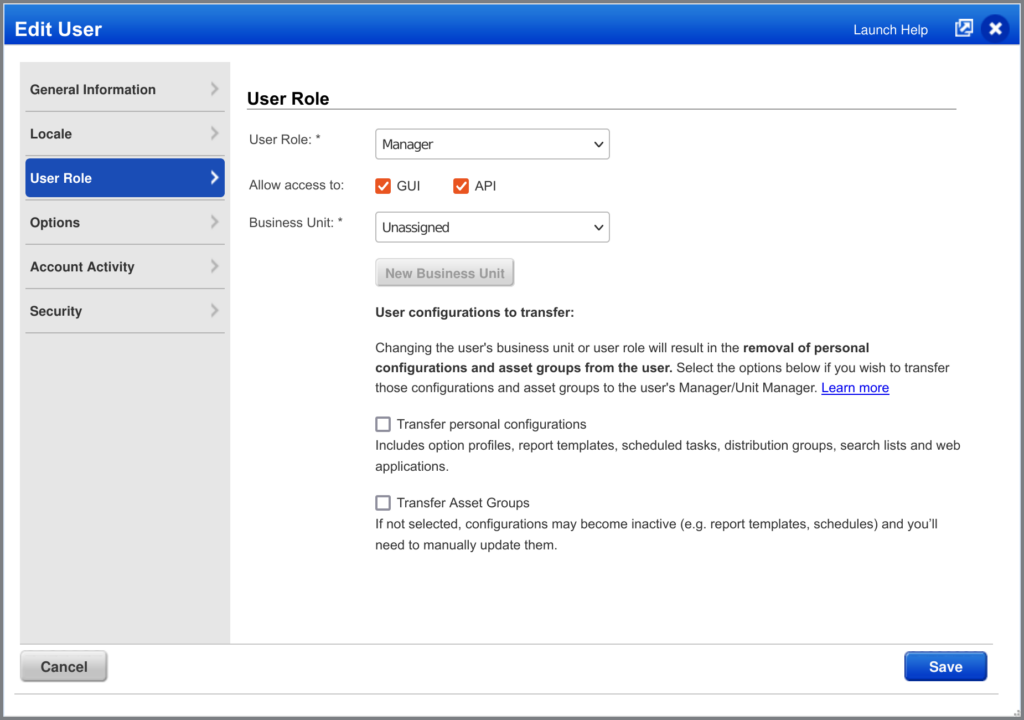
For the user credentials, make sure that the user has “API” access activated (open the user’s menu in the top-right of the screen and go to User Profile > User Role > “Allow access to:”)
Apart from user credentials, you will need your API URL. You can find this information by login into your Qualys Infra account and going to Help > About. The popup will show a list of server domains, including the one for the API (“qualysapi”).
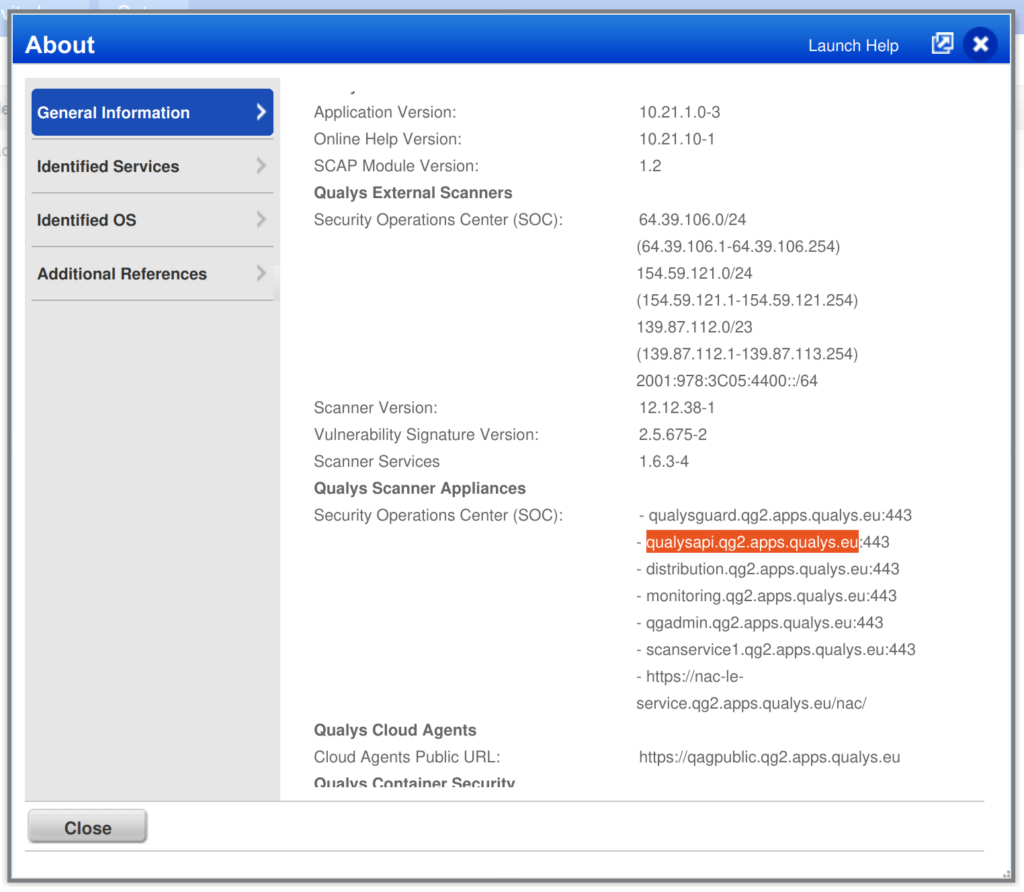
Copy the domain name (without the port number – “:433“) and add “https://” in front of it. For the domain highlighted in the screenshot the resulting URL would be “https://qualysapi.qg2.apps.qualys.eu“.
Create a Qualys Infra Integration
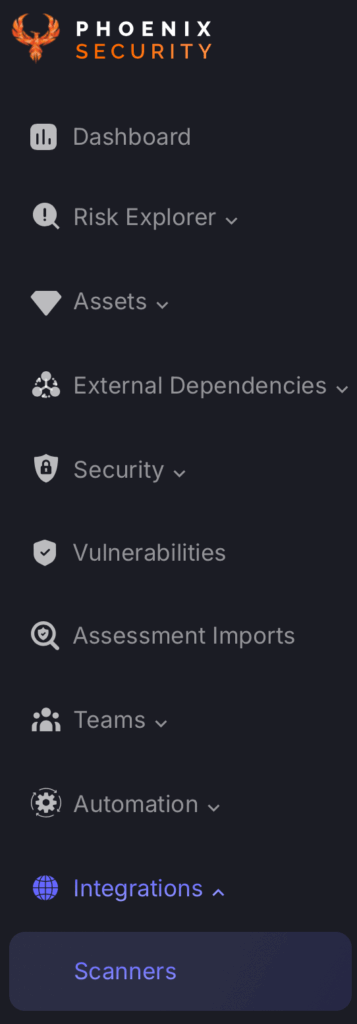
- On the sidebar menu, navigate to the Scanners tab in the Integrations section.
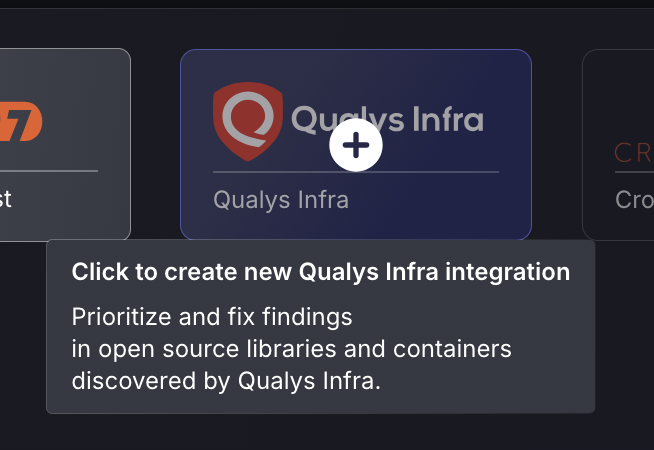
- Scroll down to Infra scanners and hover your mouse over the Qualys Infra scanner template. Then click on the template to add the scanner.
- On the next step of the process, enter the credentials created in the first part of this guide.
- Scanner Name: The name of the scanner to appear on Phoenix platform.
- Server URL: The API Root URL for your data centre. This will set to the default if not filled in
- Username: user credentials for API access
- Password: user credentials for API access
Fetch Compliance Issues: if selected the phoenix platform will fetch host compliance issues. These are issues detected against active compliance policies.
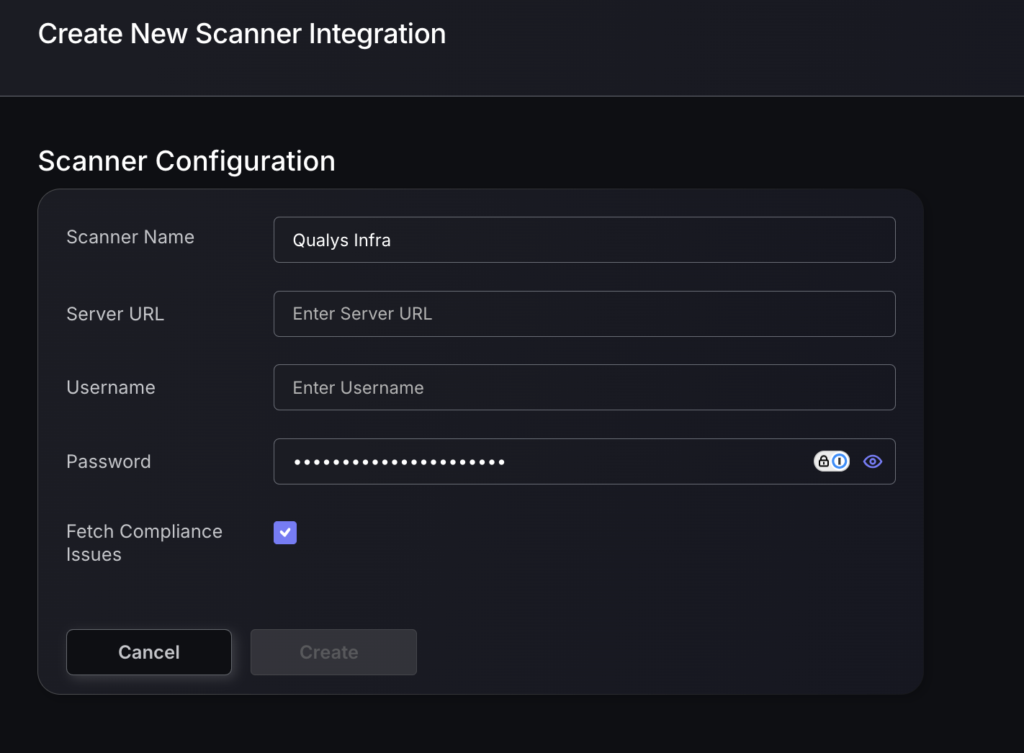
- Click on the ‘Create’ button
- Select whether to fetch vulnerabilities from all repositories accessible to the Access Token, or to choose which ones to include or exclude.
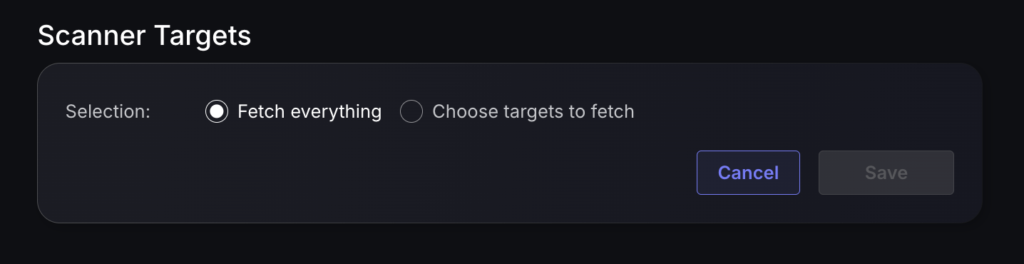
- Then click on “Save” to complete the process.
Unless there are issues with the credentials, the new scanner will appear in your list of integrations (under Integrations > Scanners) and the platform will start to collect asset and vulnerability details from the selected repositories (available through the choose targets to fetch section).
All the scanner’s assets and vulnerabilities will be automatically added to your account’s Default Application, and will be available to start assigning them to user-created Applications as required.