Wiz API Credentials
In order to integrate Security Phoenix with your Wiz account, you’ll need to authorise the platform to access Wiz GraphQL API. The following steps describe how to create the required API access credentials.
Create a Service Account
In your Wiz interface, locate and mouse-over the Settings entry on the left-hand side menu. In the sub-menu that appears, click on Access Management and then on Service Accounts.

In the Service Accounts page, click on “+ Add Service Account” and complete the new account details. Make sure that you select “Custom Integration (GraphQL API)” for the Type option. You can limit access to some specific projects, or leave it emtpty for all projects; and optionally select an expiration date (please keep in mind that the integration with this service account would stop working after that date).

Once you have finished configuring the new service account you can save it. At this point you’ll be shown the Client ID and Client Secret for the new account. It’s very important that you copy and safely store these values now, since you won’t have access to the Secret after this point.

Find you API Endpoint URL
Now that you’ve created your application’s credentials, you just need to find that API URL that should be used with your Wiz account. In order to do that, open the user menu at the top-right corner of the interface and clink on User Settings.

In the User Settings screen, select the Tenant section on the left. On the right-hand side you can see your API URL under API Endpoint URL. Please copy this value to be used later to configure the Phoenix Security integration.

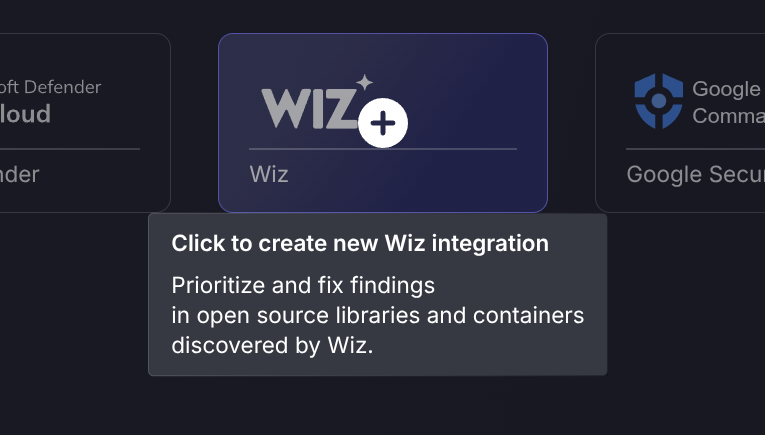
Create a Wiz Integration
Within your Phoenix Security account, select Integrations > Scanners from the left menu, then locate the Wiz entry (you can filter by Cloud scanners) and click on it to create the integration.
On the next step of the process, enter the credentials created in the first part of this guide.
- Server URL: The API Endpoint URL
- Client ID: The Client ID obtained for the service account
- Client Secret: The Client Secret obtained for the service account
- Tick the box if you’d like to Fetch Discovered Container Images
- Tick the box if you’d like to manually Select Resource Types
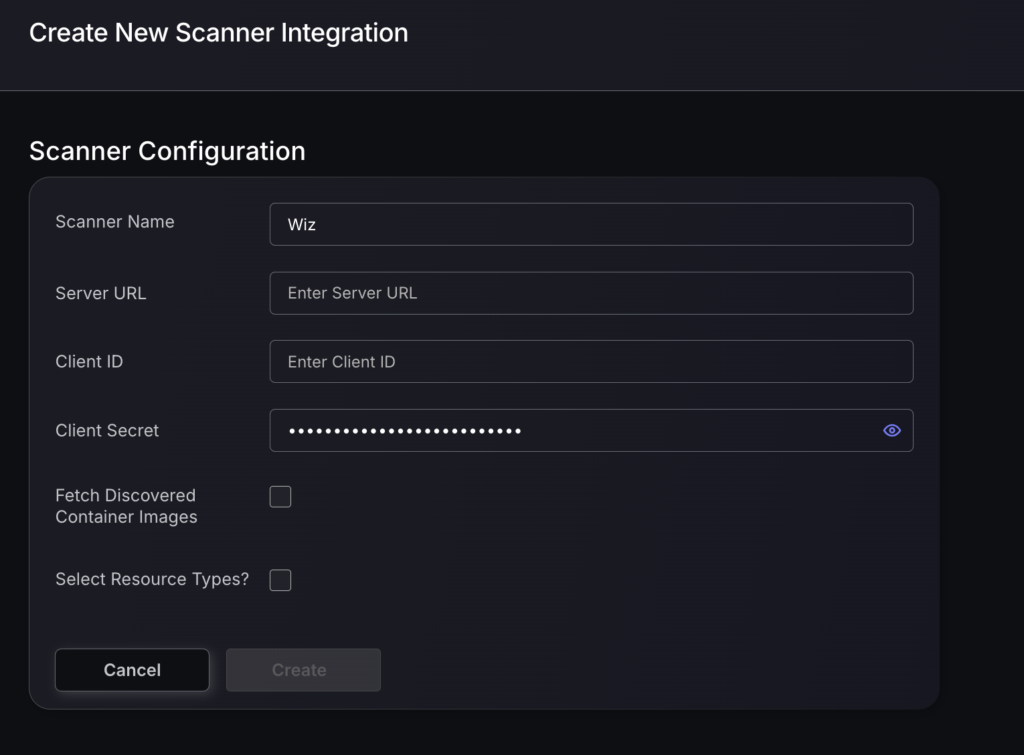
Click on “Create” the platform will check the credentials and begin to load a list of Targets. In this case each target is a cloud account configured in Wiz and accessible with the provided credentials. In this step you can choose whether you want to fetch from all available targets, select which ones to fetch from, or select which ones to exclude from the fetch process.
To finish the configuration click on “Create Scanner“.
Unless there are issues with the credentials, the new scanner will appear in your list of integrations (under Integrations > Scanners) and the platform will start to collect asset and vulnerability details from all selected targets.
All the scanner’s assets and vulnerabilities will be automatically added to your account’s Default Cloud Environments, and will be available to start assigning them to user-created Environments as required.