This area focuses on managing exceptions to security risks identified across the organization’s applications and environments. It categorizes exceptions into various statuses, such as “In Queue”, “Mitigation Accepted”, “Recasting Accepted”, “False Positive”, and “Rejected”, allowing for structured tracking and resolution of exceptions. This section is important for security users to view all the vulnerabilities set as false positives or mitigations, and for engineering users to approve/reject false positives or risk mitigations.
Navigation
In Queue
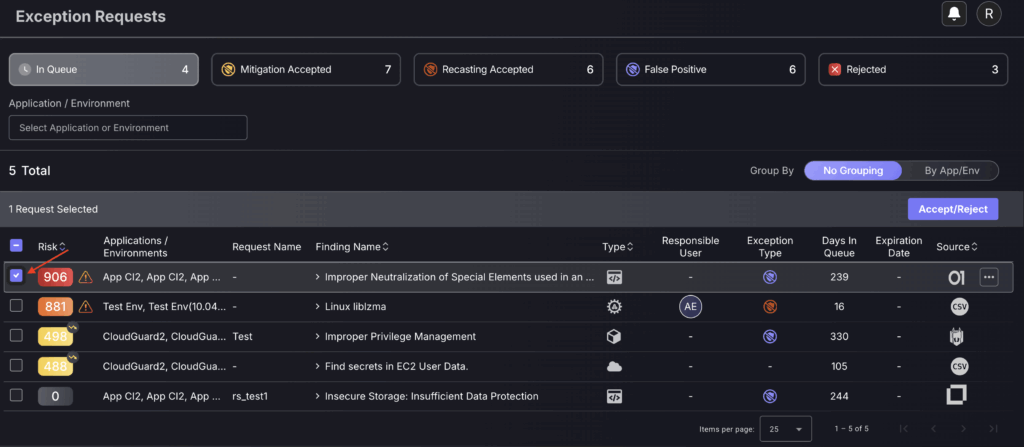
This section is used to manage risk exceptions proposed by Engineering users. It includes a queue-structured table with exceptions for higher priority/significance at the top of the table/queue.
To accept/reject a proposal, follow this process:
- Click on the empty grey box in the first field of the exception to be rejected/accepted. There is the option to select multiple exceptions by clicking on other grey boxes, as indicated by the red arrow. However, this is not advised as a reason must be given for the rejection/acceptance and is unlikely to be valid for multiple risk exceptions.
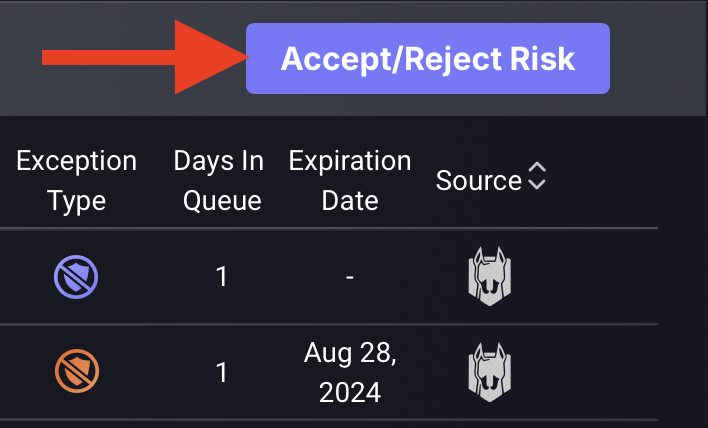
- Click on the blue Accept/Reject Risk button on the top right hand side of the table.
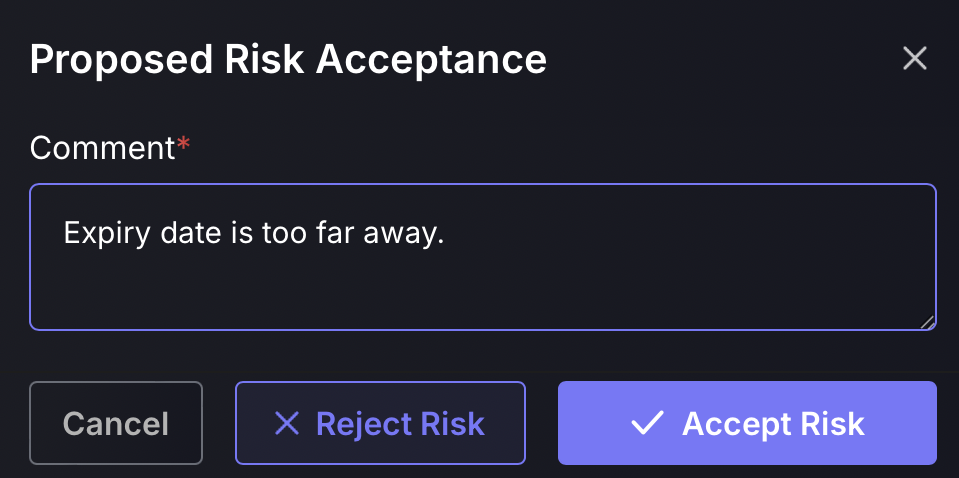
- Enter the reason for the acceptance/rejection and click on the blue Accept or Reject button to remove the exception from the queue. Rejected exceptions will appear in the rejected section table, while accepted exceptions will appear in either the Mitigation accepted, Recasting accepted or False Positive section, depending on the exception type.
Mitigation Accepted
Risk mitigation is to be set for vulnerabilities/assets that aren’t as severe as they appear to be.
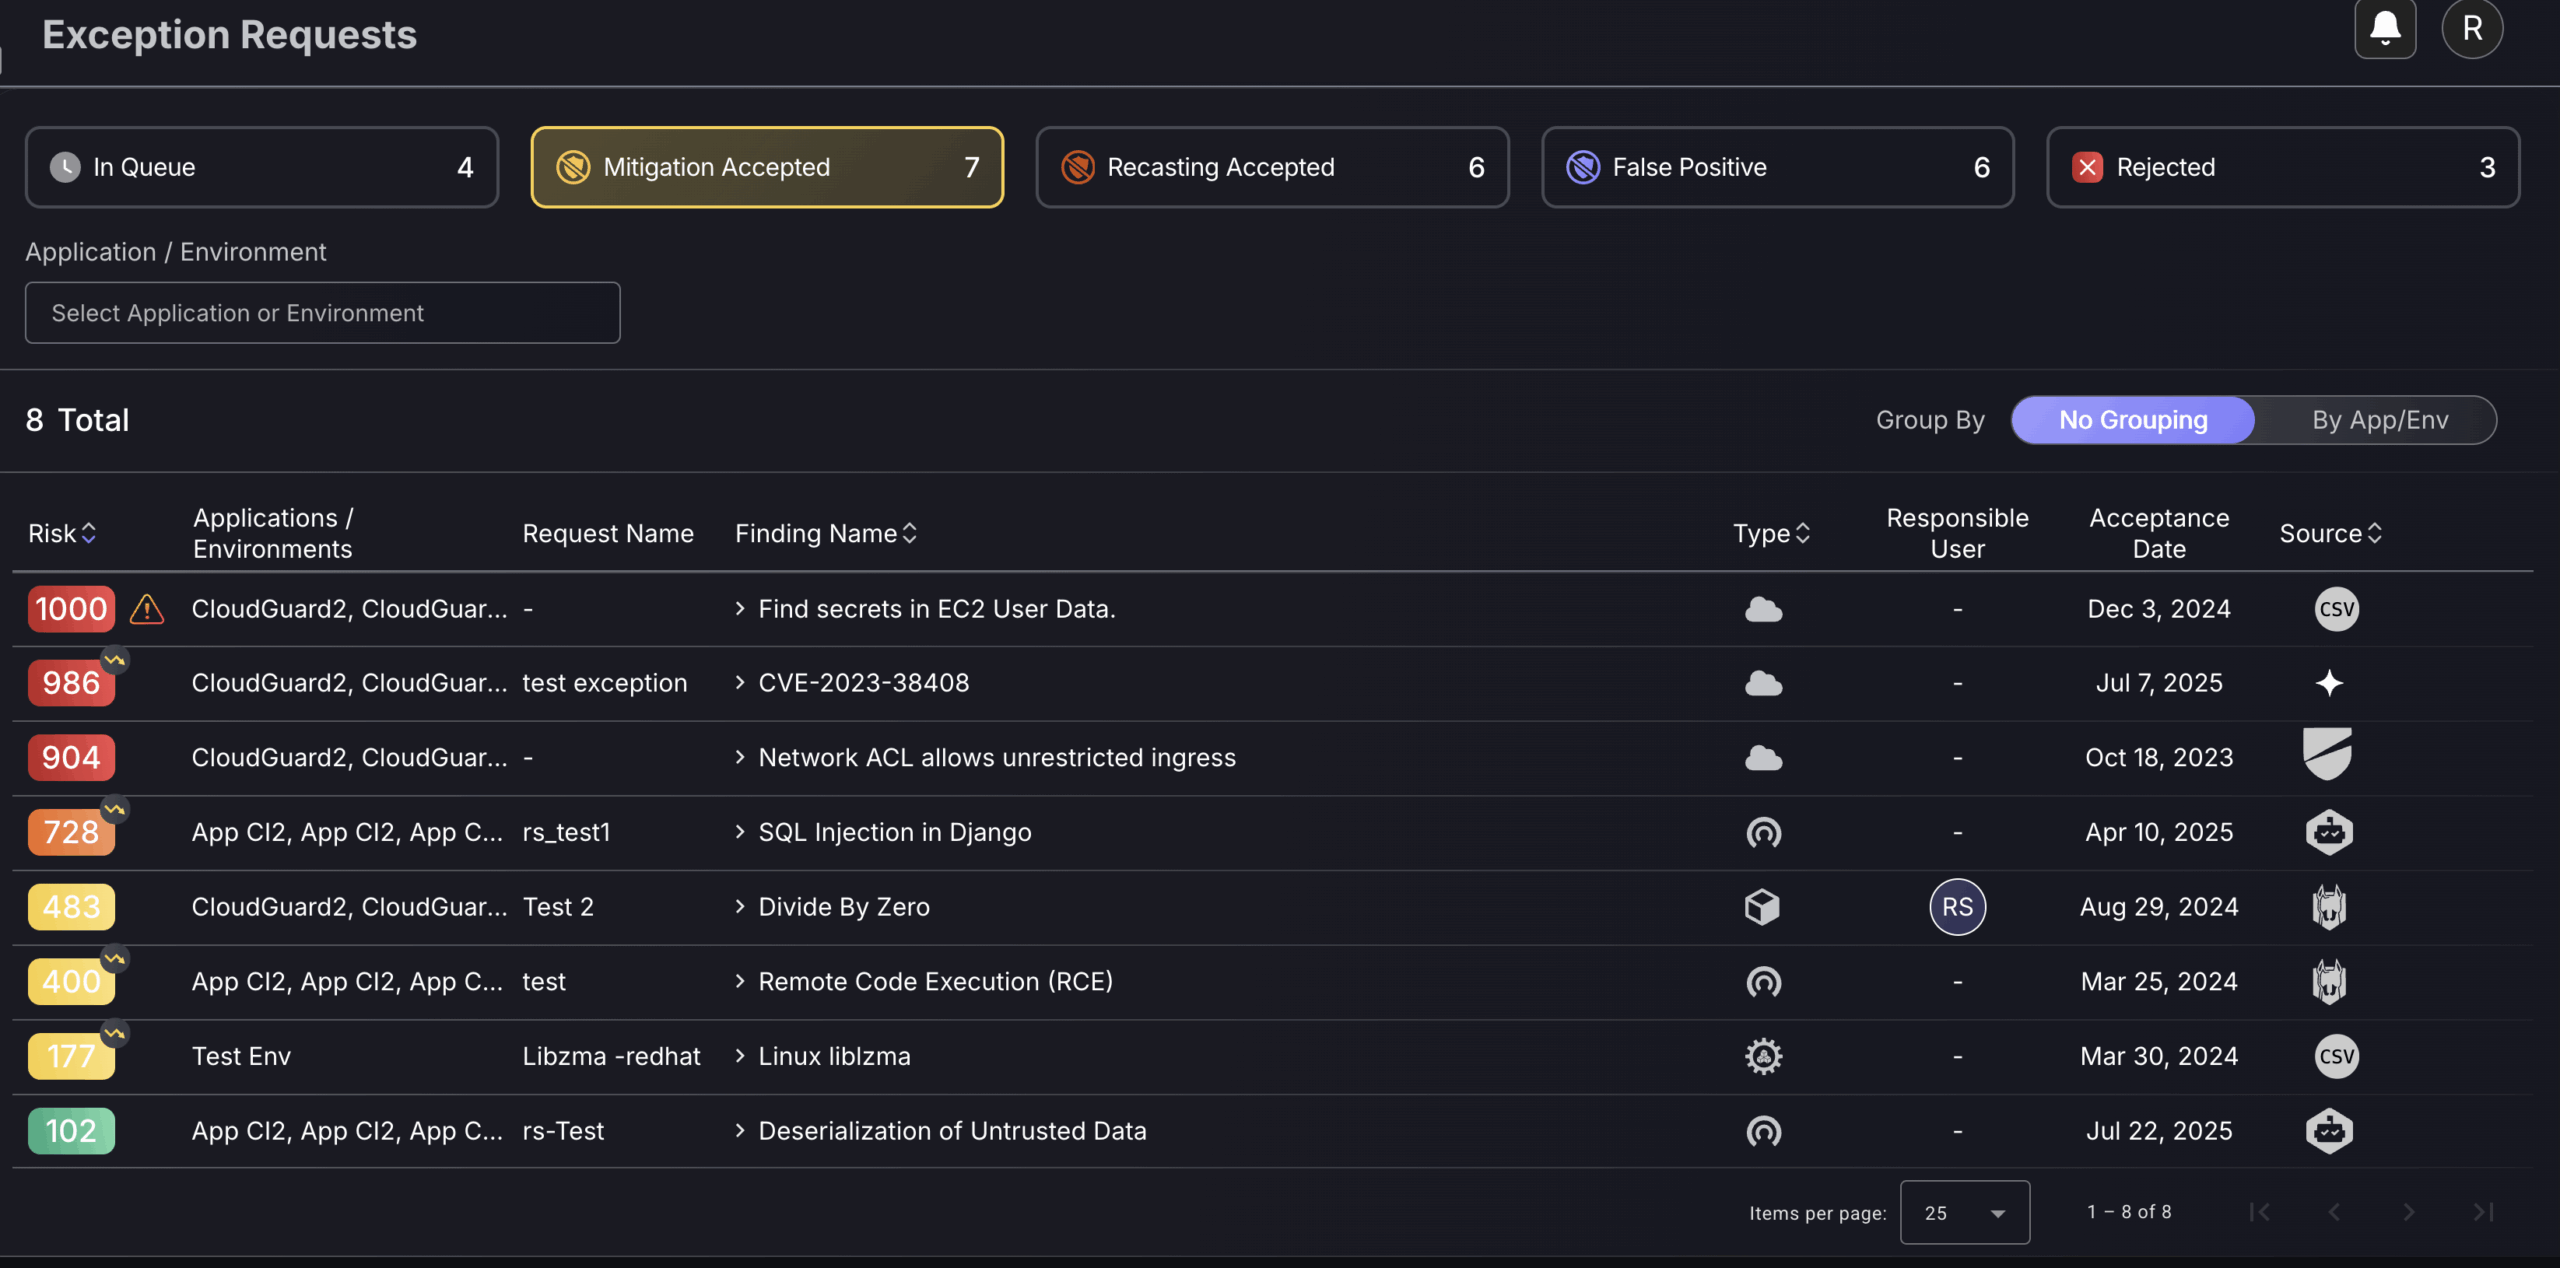
This section is used to view and manage approved Risk Mitigations as well as Risk Acceptance. There is an option to filter the exceptions by application/environment on the top left-hand side of the page, which caters to faster searching for exceptions. This app/env filter can be used to find exceptions you or your team are responsible for by searching for your assigned application/environment. The exceptions are ordered by risk level, with the highest at the top. Hovering over the arrow icon in the top right corner of the risk, will reveal the original risk level to review the effect of each risk mitigation.
To delete a Mitigation, click on the three dots on the right-hand side of a row and select “Delete“. This will generate an auto-approved exception removal request which will be added to the “findings” request log. Deleting will nullify the effects of the exception.
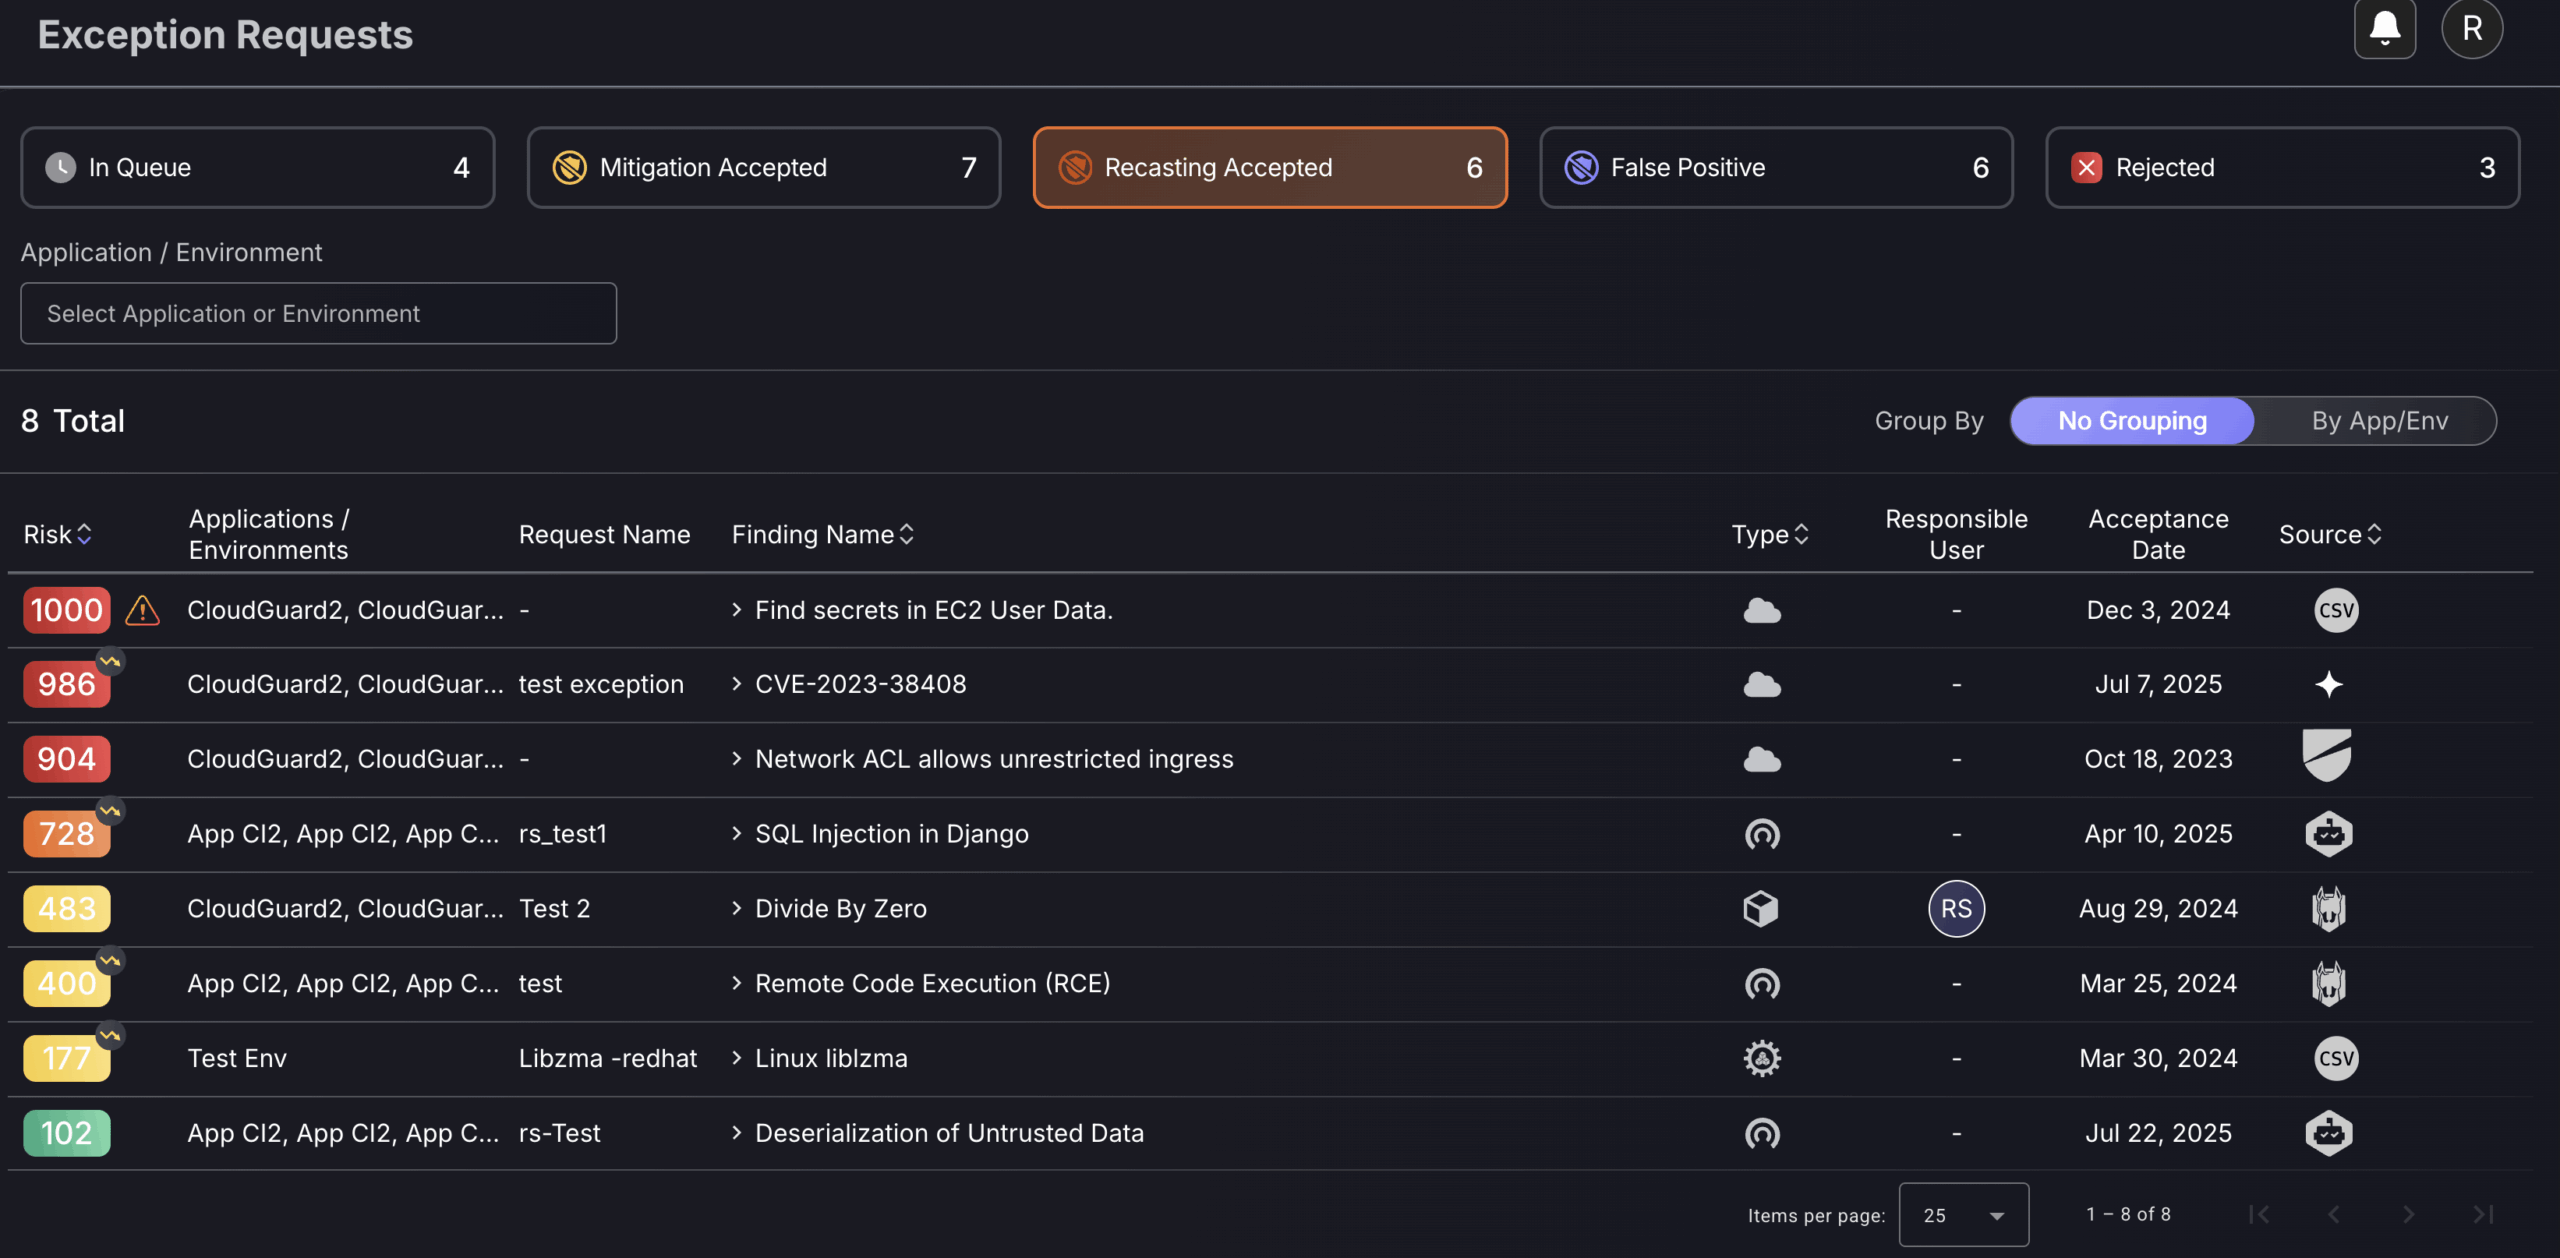
Recasting Accepted
This section is used to view and manage all approved Risk Recasts. A risk recast is a reassessment of a vulnerability’s severity—typically used when the default risk score does not accurately reflect the real-world impact within your specific environment.
You can filter the displayed risk recasts by application or environment using the filter menu on the top left-hand side of the page, allowing for faster identification of items relevant to your team. Each recast entry displays both the adjusted risk level and the original risk level, so you can clearly assess the impact of the recast decision.
To delete a risk recast, click on the three dots on the right-hand side of a row and select “Delete”. This will generate an auto-approved exception removal request which will be added to the “findings” request log. Deleting will nullify the effects of the exception.
False Positive
Setting an asset/vulnerability/finding as a false positive will mark it as no longer a threat and will mean it no longer contributes to the global risk score/risk score of the application/environment it is within.
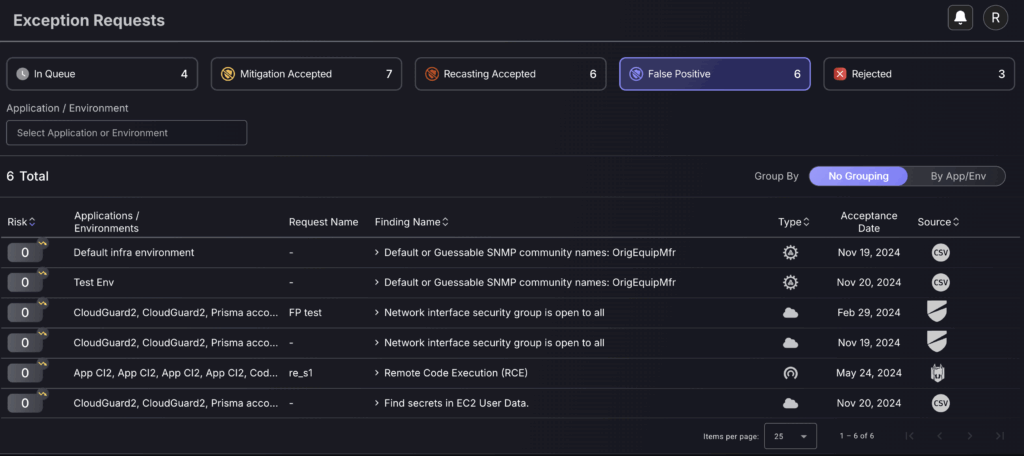
This section is used to view approved false positives and is essential for administrators to regularly review false positives accepted to ensure there are no inconsistencies or wrongly accepted false positives. The acceptance date field can be used as a guide to identify newly accepted false positives.
To delete a false positive, click on the three dots on the right-hand side of a row and select “Delete”. This will generate an auto-approved exception removal request which will be added to the “findings” request log. Deleting will nullify the effects of the exception.
Rejected
When a security user rejects an exception from the queue section, it will appear here. It has a rejection date field so users can see when it was rejected and who the responsible user is. To view exception details, click on the exception.
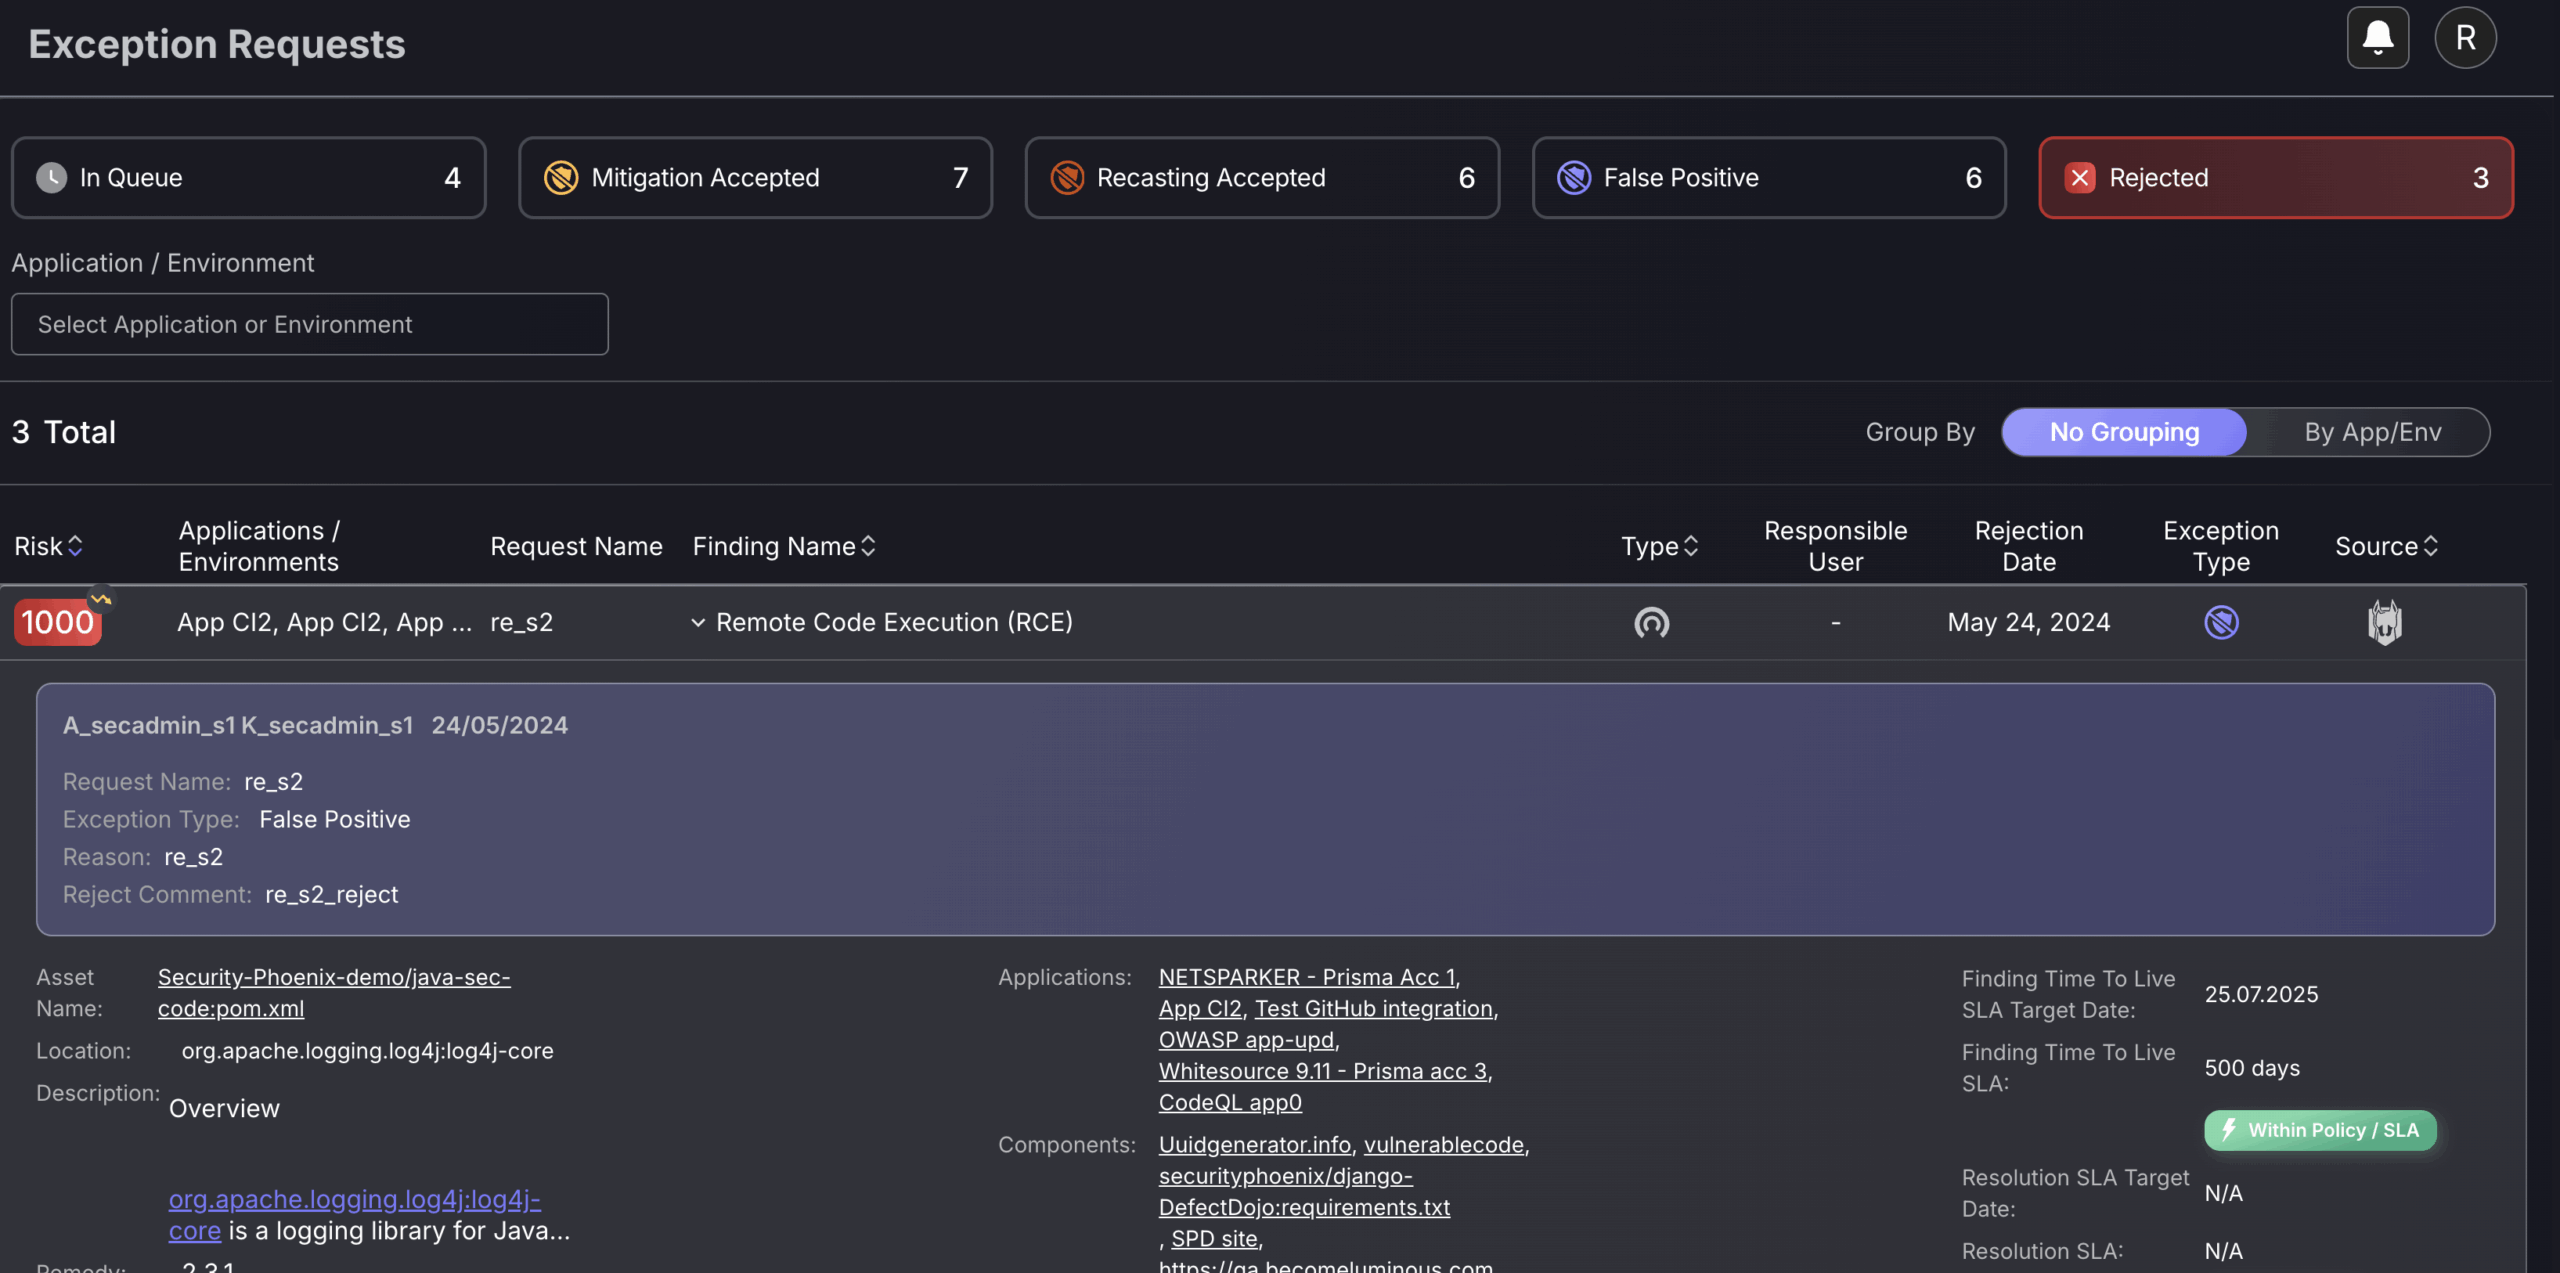
You can view the proposed reason for the false positive by clicking on a rejected exception. Underneath, there is also a reason why the exception proposal has been rejected.