1. Introduction
Components are essentially what is being monitored on the lower level by your Phoenix Security Dashboard. This is what constitutes the main goal you want to achieve in deciding to use Phoenix Security.
You can add, edit, and delete your Components in your Phoenix Security instance through the Applications Risk View sub-page.
2. Managing Components
Here are the steps to perform basic Components-related actions in your Phoenix Security instance.
a. Creating a Component
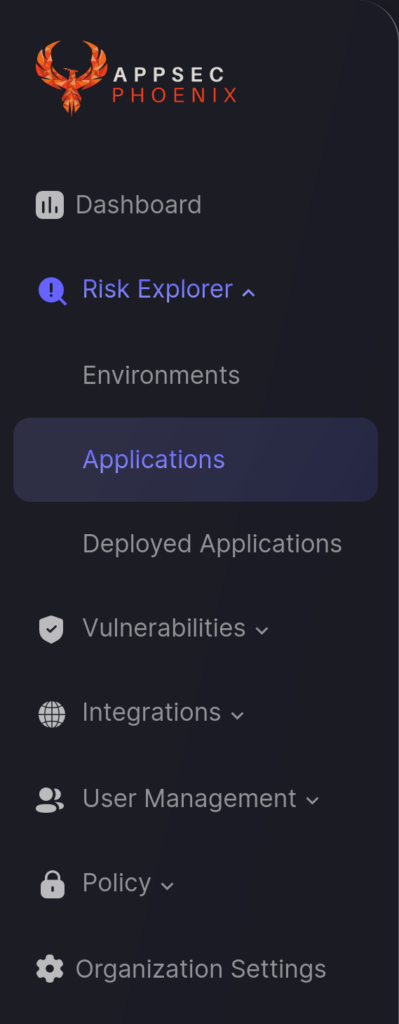
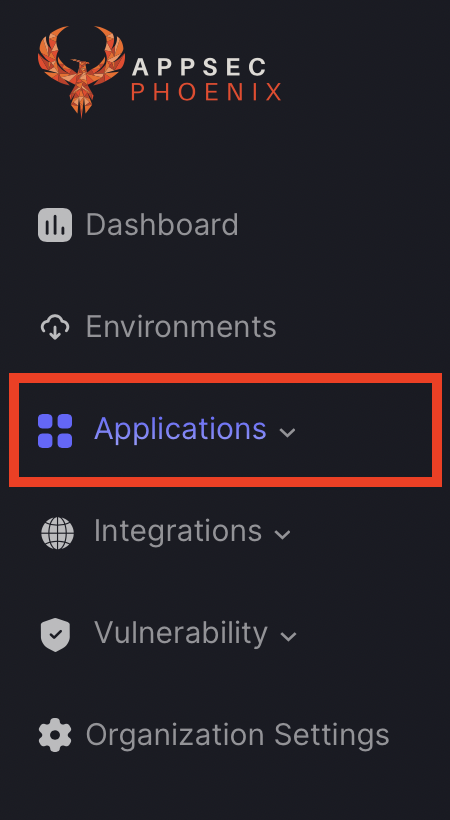
- On the Navigation Menu, select Risk Explorer > Applications.
- Select the Application List tab and scroll down to the Application that you want to update. Hover your mouse over the application entry, click on the three-dots icon than appears on the right, and select Component List.

- Click the “Add Component” button on the right-hand side.

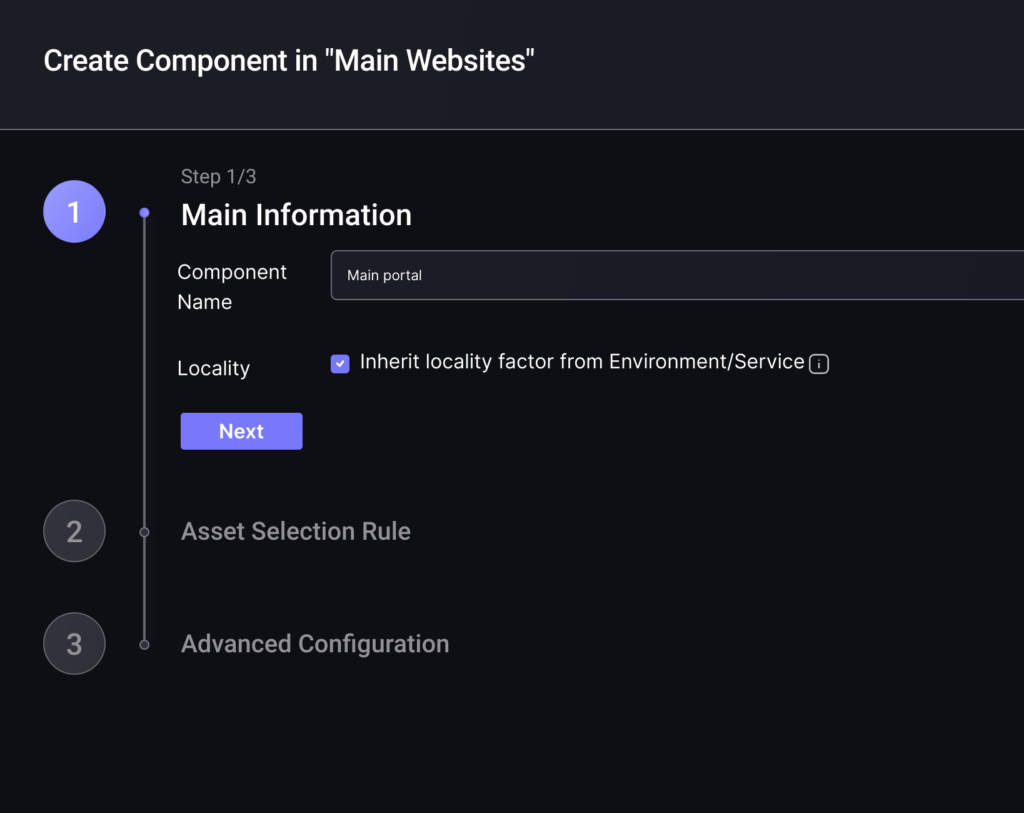
- Enter the name the you want to give this Component and click the “Next” button to proceed to asset selection.
- Here you can use filters to select the set of assets that you want to include in the Component. Once you’ve entered your selection criteria click on “Apply Filters” to update the list of selected assets.
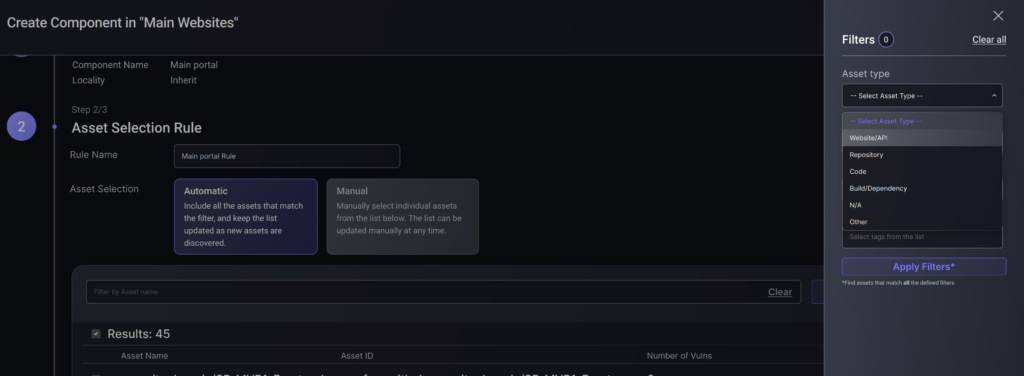
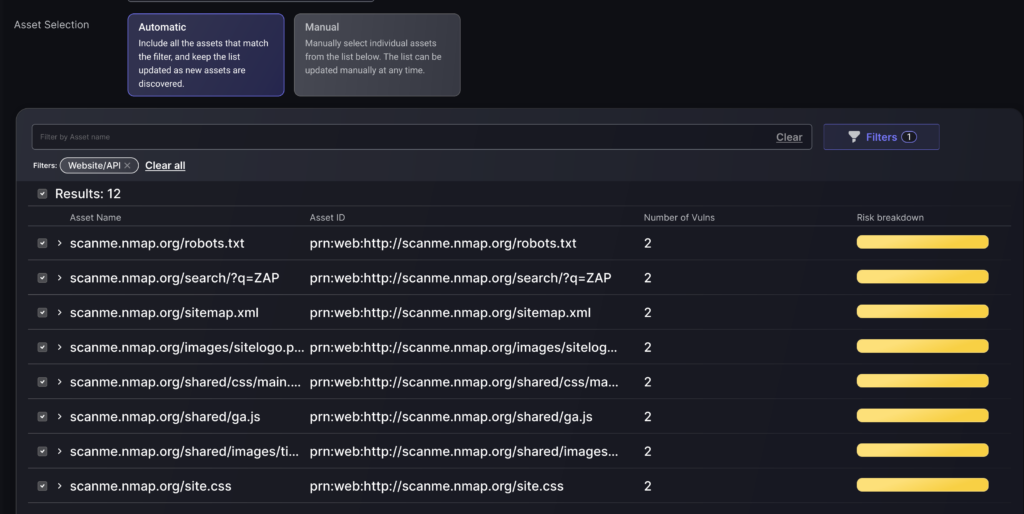
- Once you apply the filter you’ll see a reduced list of assets. Note that the difference between Automatic and Manual selection is that using the former the Component will get any new assets that match the filters, while with the latter you have to select individual assets, and that list will not update automatically.
- By click on “Next” you can proceed to the last step of the configuration, where more advanced settings (like tags and ticket and notification integrations) can be configured.
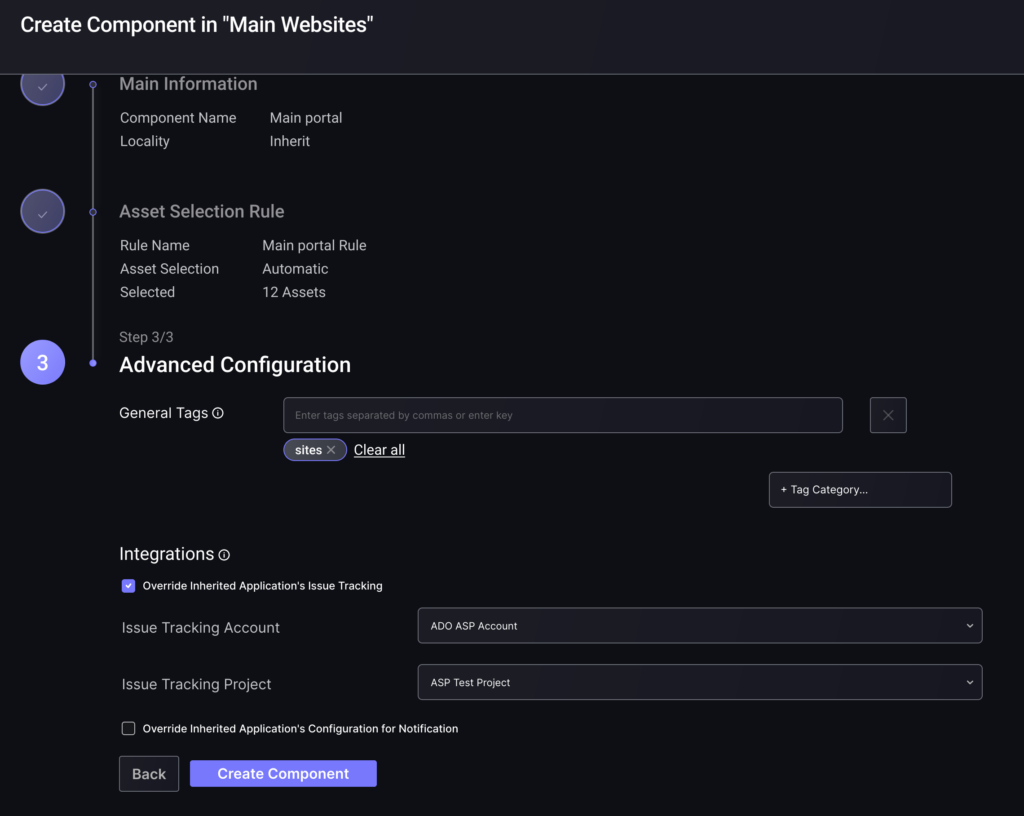
- Click the “Create component” button to complete the process.
b. Editing a Component
- Follow steps 1 and 2 above to navigate to the Application’s Component List tab.
- Select the component that you want to edit, hover your mouse over it’s entry and click on the three-dot icon that appears.
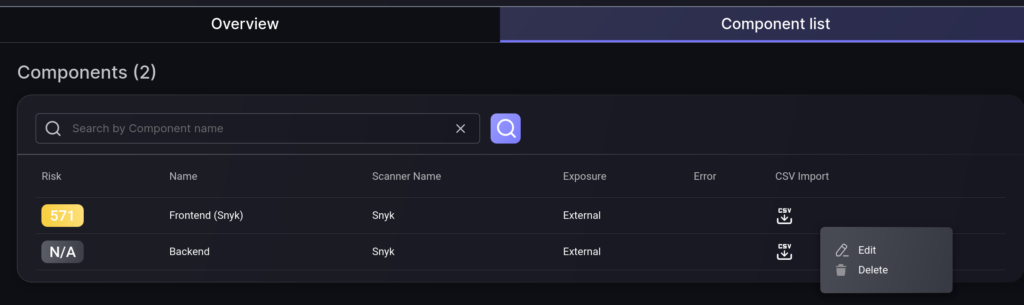
3. Select the Edit option (pencil icon).
4. Here you can edit the component’s details as well as create new rules or delete old ones.
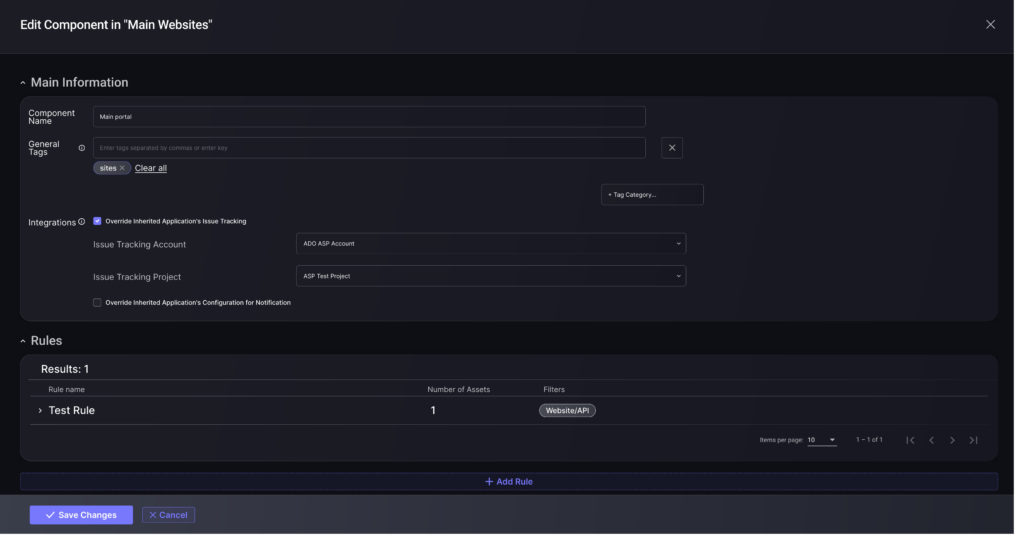
Once done, click the “Save Changes” button.
c. Deleting a Component
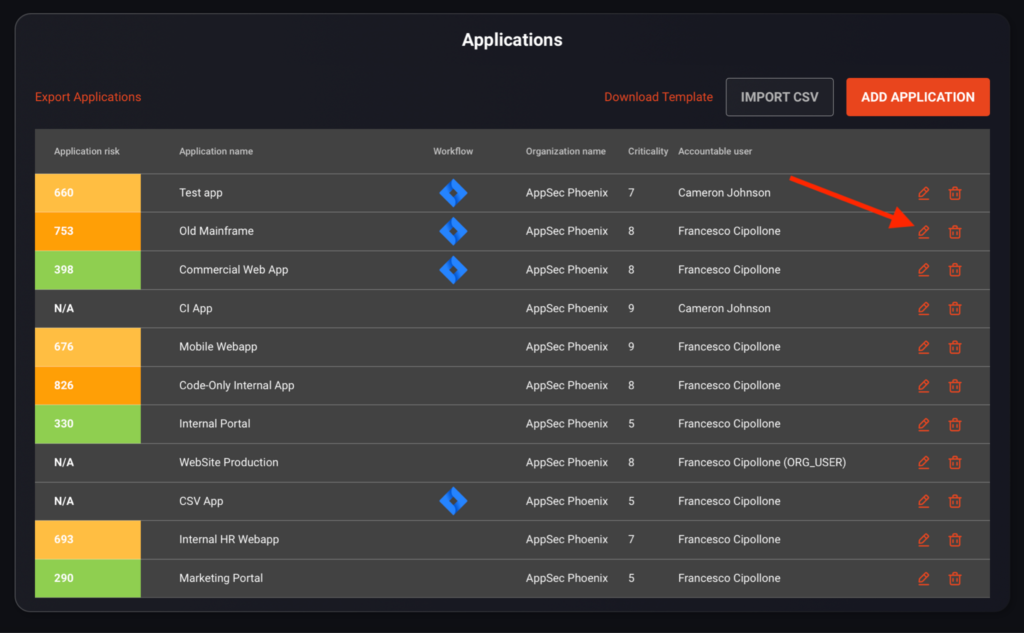
- On the Navigation Menu, click Applications.
2. Scroll down and go to the Applications section. Look for the Application where the Component that you want to delete is located and click Edit (pencil icon).
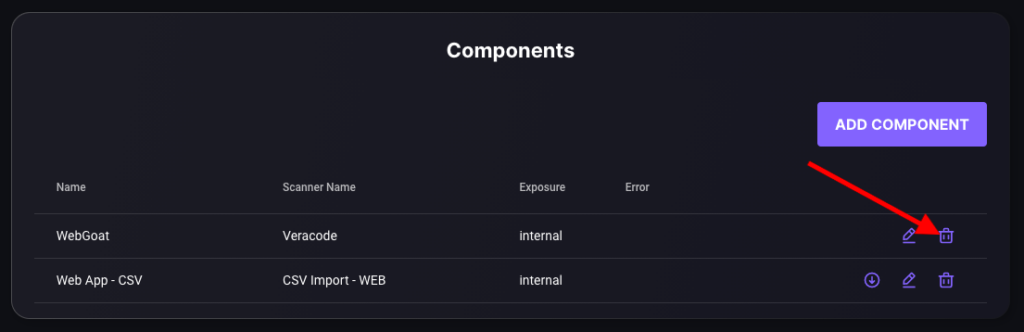
3. Scroll down to the Components list and click the Delete (bin icon) of the Component you want to delete.
4. A message box will appear asking you to confirm if you want to delete the Component. Click “Delete” to proceed.
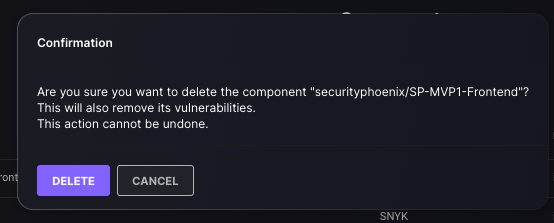
A notification confirms that you have successfully deleted the Component.